


Introduction:
Trimming your cat’s nails might seem daunting, especially if you’re new to the process. However, with the right tools, a calm environment, and a few tips and tricks, you can make this grooming task much easier and stress-free for both you and your furry friend. Let’s go over seven vet-approved steps that will help you become a pet care pro and trim your cat’s claws like a champ!
Step 1: Gather Your Tools
Before you begin, it’s crucial to have the right equipment. Human nail clippers or dog clippers simply won’t cut it—literally. These are not designed for trimming cat claws and can be harmful to your pet.
- Claw Clippers
Start by choosing a pair of clippers specifically made for cats. There are three main types of cat clippers: scissor-style, pincer-style, and guillotine-style. Scissor-style clippers are great for beginners. They are similar to regular scissors but designed for cat claws. If your cat’s claws are tougher, pincer-style clippers might be better suited for the task. Guillotine-style clippers are sharp and effective, but can be tricky for beginners. - Safety Tip: If your cat gets squirmy during the trimming session, wrap them gently in a towel or have someone help hold them still. Always have some styptic powder on hand to stop bleeding if you cut too deep.
Step 2: Create a Calm, Quiet Environment
To keep your cat relaxed during the trimming process, choose a quiet area away from household distractions. If your cat is nervous around noise, give them a little time to adjust and calm down. 
- Pro Tip: Sit in a calm and comfortable place, and talk softly to your cat to ease their anxiety.

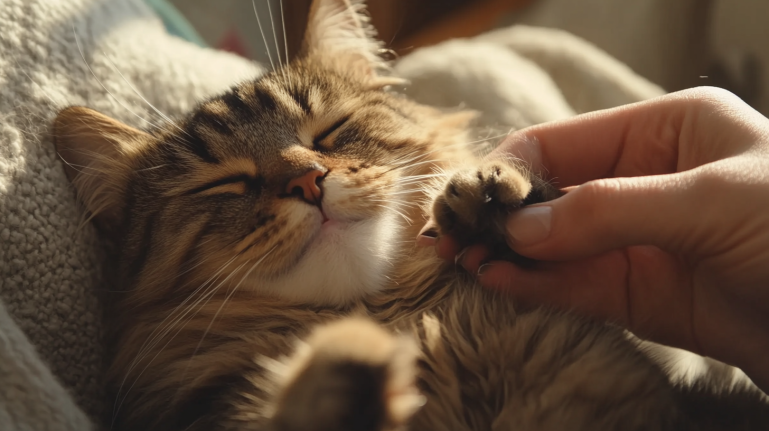
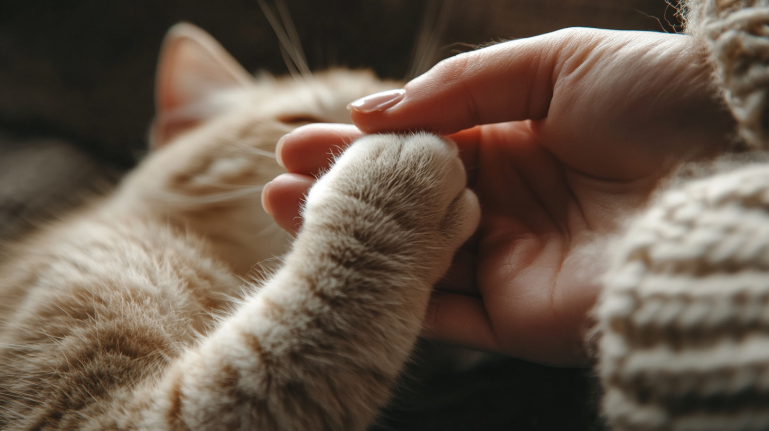
Step 3: Position Your Cat Comfortably
There’s no one-size-fits-all solution when it comes to the best position for trimming your cat’s claws. Experiment to see what works best for your pet. Some cats prefer sitting on your lap, while others may be more comfortable lying next to you.
- Pro Tip: If your cat gets too fidgety, you can wrap them snugly in a towel, leaving only one paw exposed at a time.

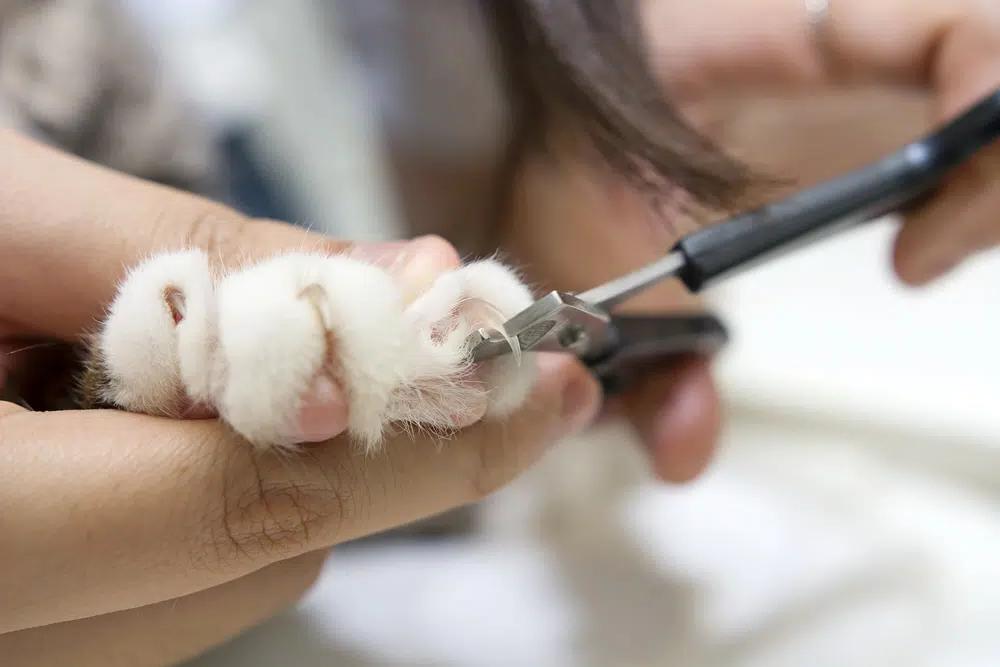
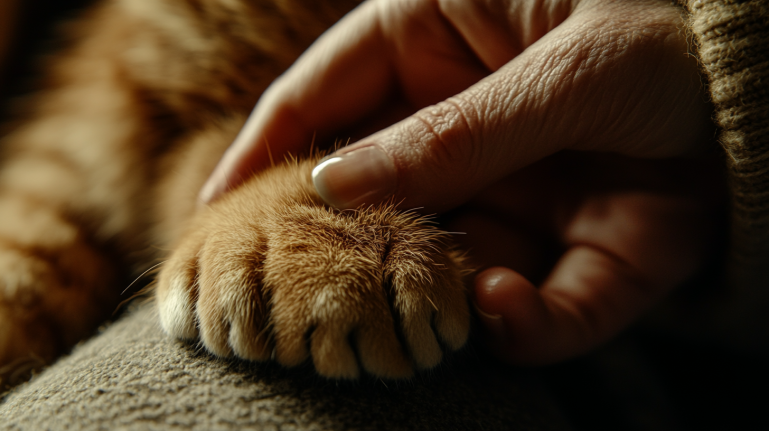
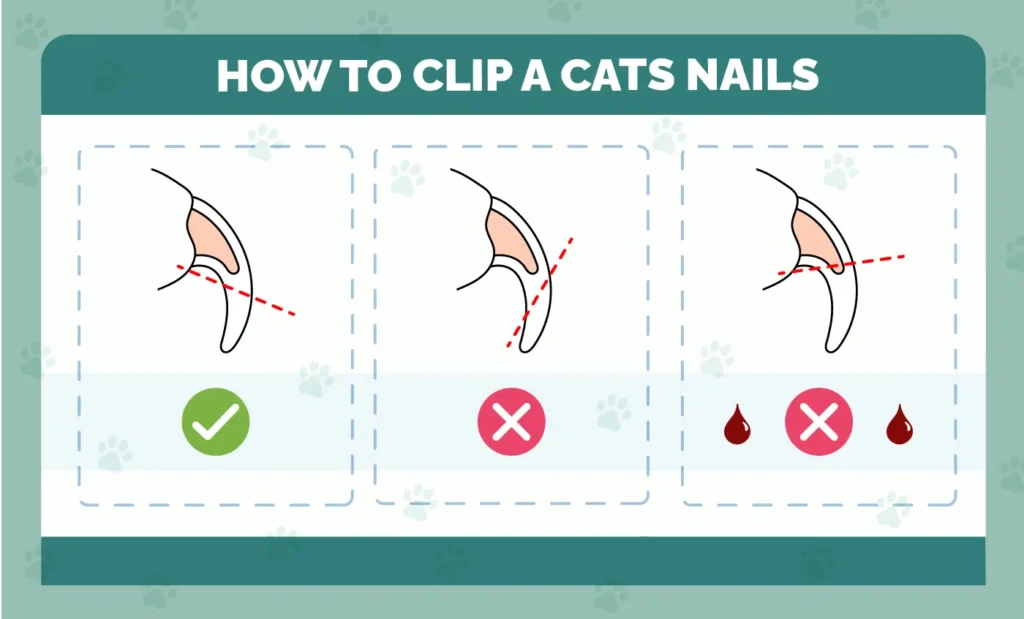
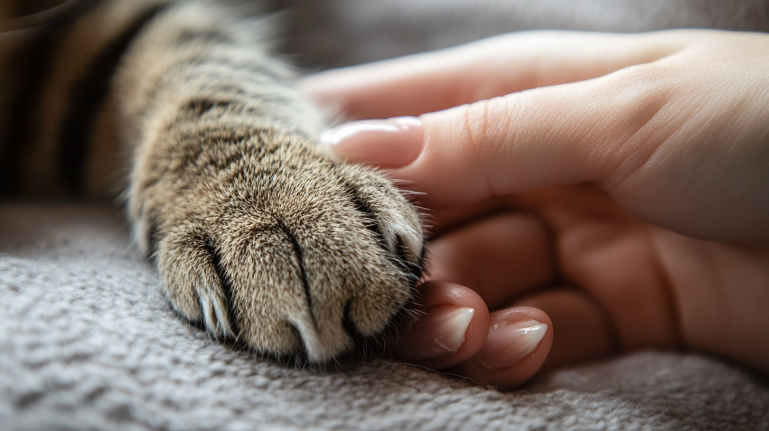
Step 4: Identify the Claw and the “Quick”
Understanding the anatomy of your cat’s claws is essential for safe trimming. The “quick” is the sensitive part of the claw that contains blood vessels. You must avoid cutting into it, as it can cause bleeding and pain.
- Pro Tip: Press gently on your cat’s paw pad to extend the claws. The clear part is the nail, while the pinkish area is the quick. Trim only the hard white portion of the nail.
Step 5: Trim at the Right Angle
When cutting, aim to trim at a slight angle rather than cutting straight across. This ensures that the claws stay aligned with your cat’s natural walking posture. Avoid trimming too slowly, as this can cause the claw to bend or splinter.
Step 6: Trim Gradually
Don’t rush! Trim small portions of the claw at a time to avoid cutting the quick. Give your cat plenty of time to relax between cuts. If they start showing signs of distress, take a break.
- Pro Tip: The more often you trim your cat’s nails, the easier it will become over time.
Step 7: End on a Positive Note
Always finish the session with something positive. Reward your cat with treats, cuddles, or playtime after their claw trimming. This helps them associate nail trimming with a positive experience, making the process smoother next time.

Conclusion
Trimming your cat’s claws doesn’t have to be a stressful experience! With these seven simple steps, you can make nail trimming a regular, manageable part of your cat care routine. Remember, patience and consistency are key—before you know it, both you and your cat will feel relaxed during nail trimming sessions. Keep practicing and happy grooming!