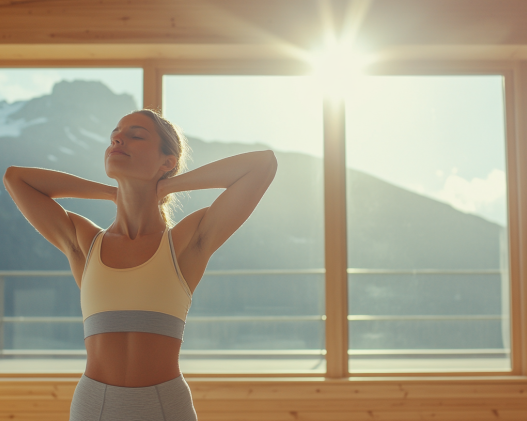

We often hear people say, “It’s easy to push your shoulders open, but so hard to fix them later.” That’s especially true in some so-called “shoulder-opening” yoga classes, where the teacher pulls and yanks your arms to force a deeper stretch.
This kind of aggressive adjustment might feel impressive in the moment, but over time it can quietly damage your shoulder joints.
If you really want your joints to move more freely, the key is not to overstretch the ligaments that protect them. Instead, you need to strengthen the muscles around the joint while gently improving flexibility. That’s the safest way to build open, stable shoulders. 
Today, we’ll go through 8 shoulder yoga movements that combine strength and stretching. They help mobilize your joints, release tightness, and also slim your shoulders, back, and arms—all while staying safe and controlled.
Pose 1 – Puppy-Style Shoulder Opener (Variation of Cat Pose)
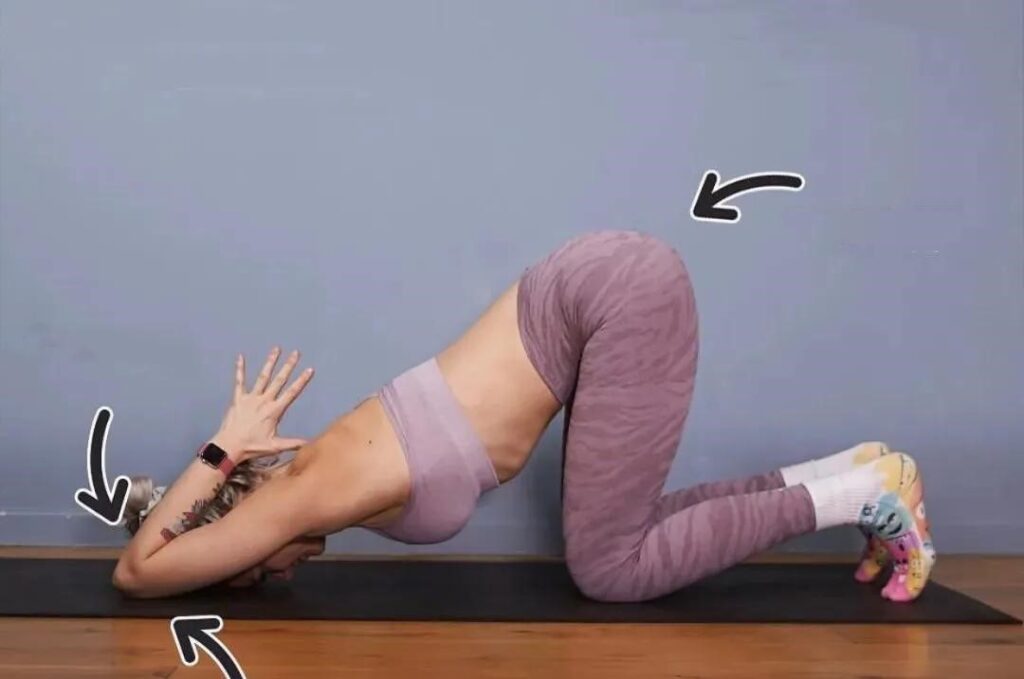
This first move is a gentle but powerful opener for your shoulders and upper back. It’s a variation related to the classic Cat Pose in Yoga.
How to practice:
- Come into a kneeling position on your mat with your hips above your knees and your thighs vertical to the floor.
- Walk your arms forward and stretch them out, then place your forehead on the mat.
- Bend your elbows and bring your hands together in prayer position, placing your thumbs or palms close to the back of your neck.
- Engage your core gently and let your upper back round slightly upward, creating a soft arch.
- Keep your lower back supported and avoid collapsing into your shoulders.
- Hold for 8–10 slow breaths, then release.
Pose 2 – Forearm-Down Downward Dog for Shoulder Strength
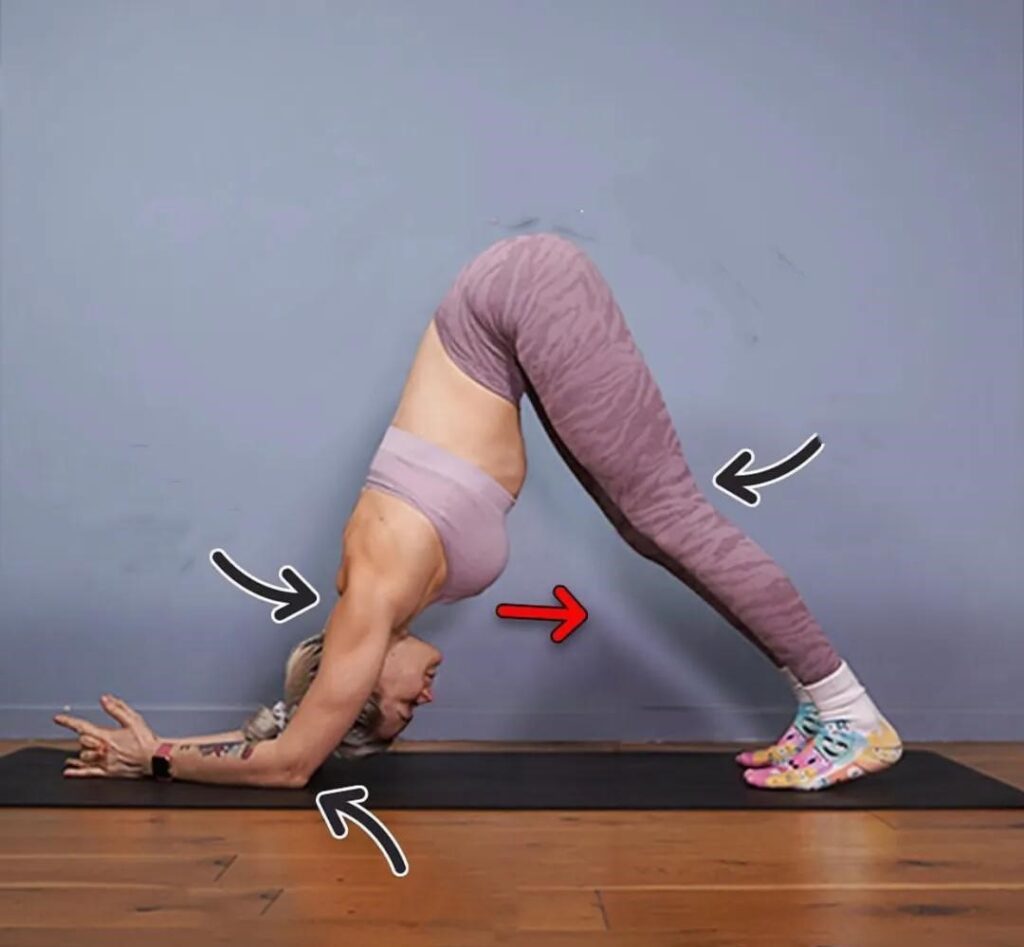
Now we move into a variation of Downward-Facing Dog that targets your shoulders and upper back while building strength.
How to practice:
- Start in a regular Downward Dog position with your hips lifted and your body in an inverted “V” shape.
- Keep a soft bend in your knees to avoid pulling on your hamstrings and lower back.
- Bend your elbows and lower your forearms closer to the floor, as if you’re halfway to a forearm dog.
- Firm the muscles across your shoulders and upper back, and gently broaden your collarbones (clavicles).
- Engage your core and walk your feet a small step forward, but do not shrug your shoulders or let your lower back collapse.
- Stay for 6–8 breaths.
Pose 3 – Classic Downward-Facing Dog with External Rotation
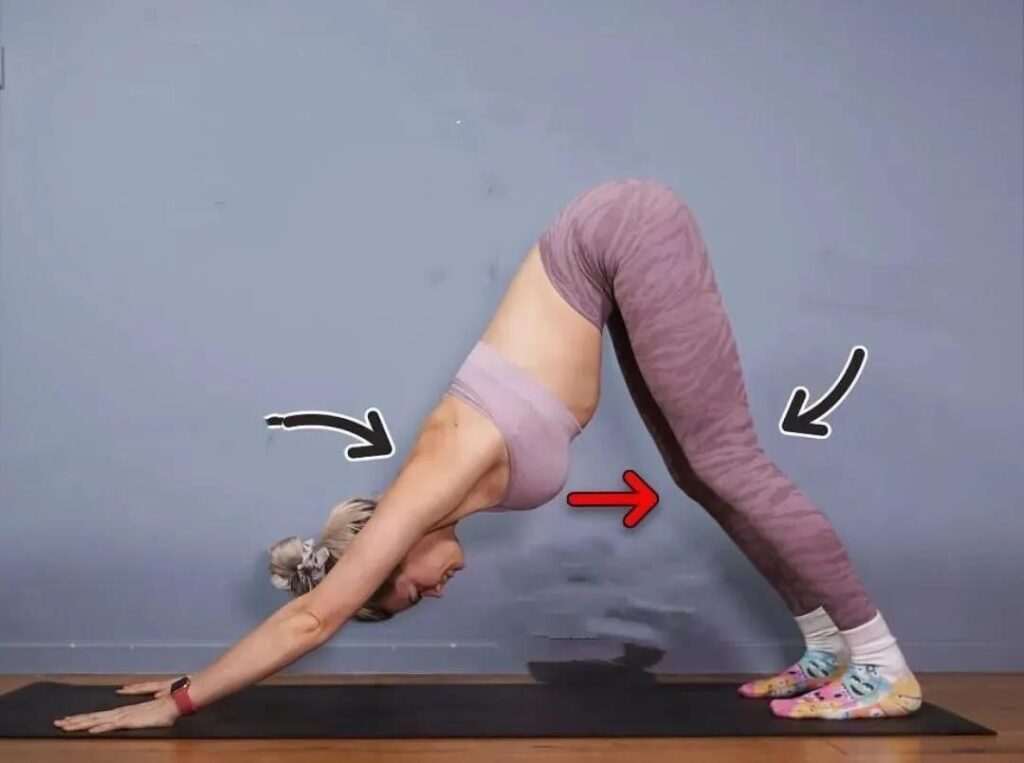
Building from Pose 2, we return to a more traditional Downward-Facing Dog, but with extra focus on shoulder alignment.
How to practice:
- From the forearm variation, straighten your arms and press your palms firmly into the mat.
- Rotate your upper arms outward (external rotation of the humerus), which helps create space around the shoulder joint.
- Gently draw your shoulder blades (scapulae) toward your ribcage so they hug the back body instead of winging out.
- Keep your spine long, heels gently reaching toward the floor, and your neck relaxed.
- Breathe steadily and adjust the pose for 3–5 breaths, focusing on balanced activation rather than depth.
Pose 4 – Standing Forward Fold with Clasped Hands
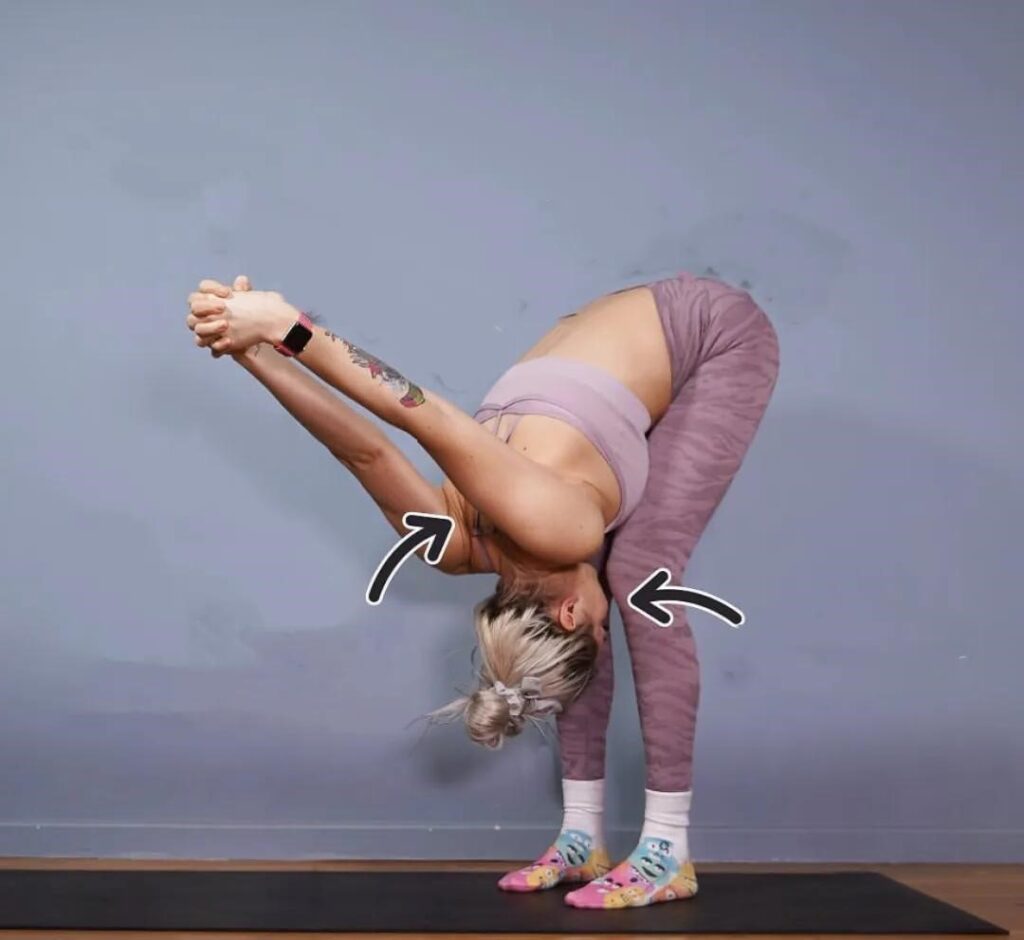
This movement stretches the chest, shoulders, and the entire back line of the body, while also improving posture and countering a rounded upper back.
How to practice:
- Stand with your feet hip-width apart and keep a soft bend in your knees.
- Hinge at your hips and fold your torso forward, bringing your belly close to your thighs to protect your lower back.
- Interlace your fingers behind your back, creating a hand clasp.
- As you exhale, draw your hands away from your back and let your arms gently move toward the floor, feeling the stretch across your shoulders and chest.
- Relax your neck and let your head hang, but keep the weight evenly distributed in your feet.
- Stay here for about 1 minute, breathing slowly and deeply.
Pose 5 – Squat with Inner Elbow Press for Shoulder Rotation
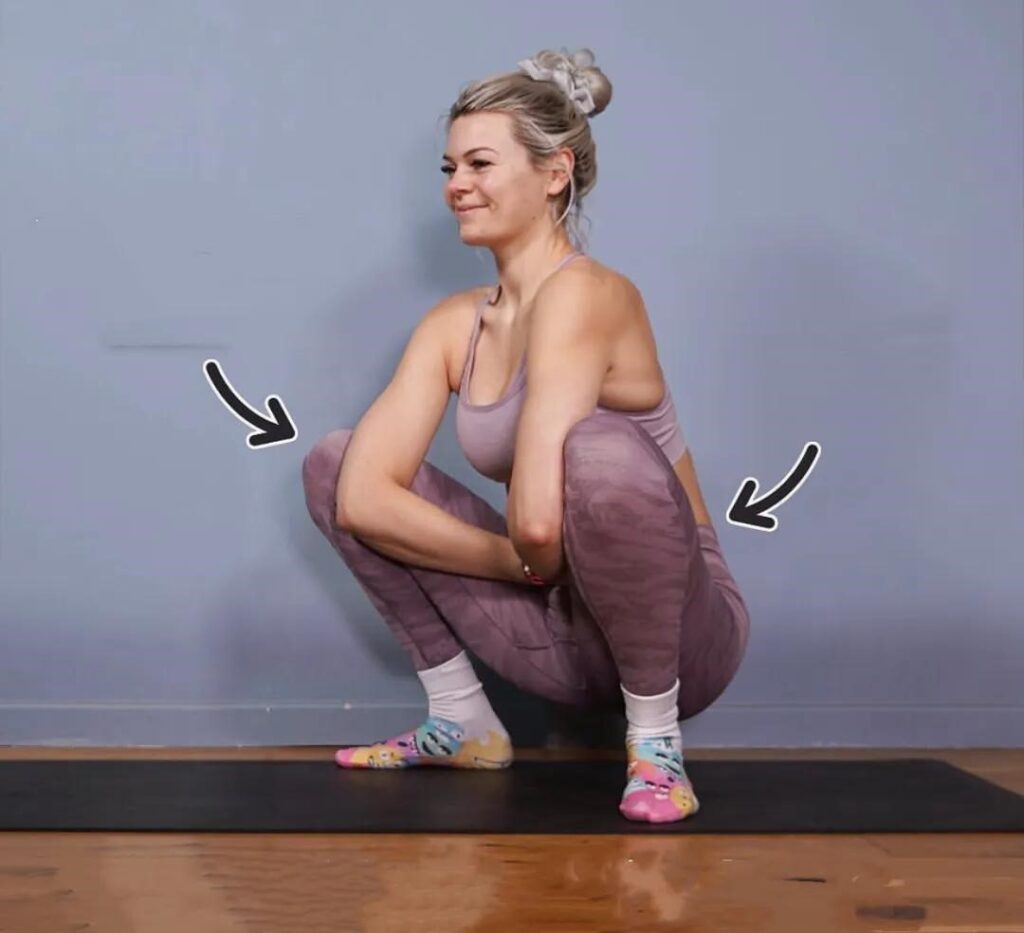
This pose blends a deep lower-body position with a powerful shoulder and upper-arm rotation.
How to practice:
- Come into a squat, with your feet slightly wider than shoulder-width apart.
- Turn your toes out diagonally so your feet point in a slanted outward angle.
- Internally rotate your upper arms so your elbows bend and point outward.
- Place your elbows on the insides of your knees or thighs.
- Press your legs gently inward against your arms, while your arms resist outward, creating an active stretch.
- Engage your core, lengthen your spine, and keep your chest lifted as much as possible.
- Hold for 8–10 breaths.
Pose 6 – Tabletop Reverse Plank (Strength-Based Shoulder Opener)
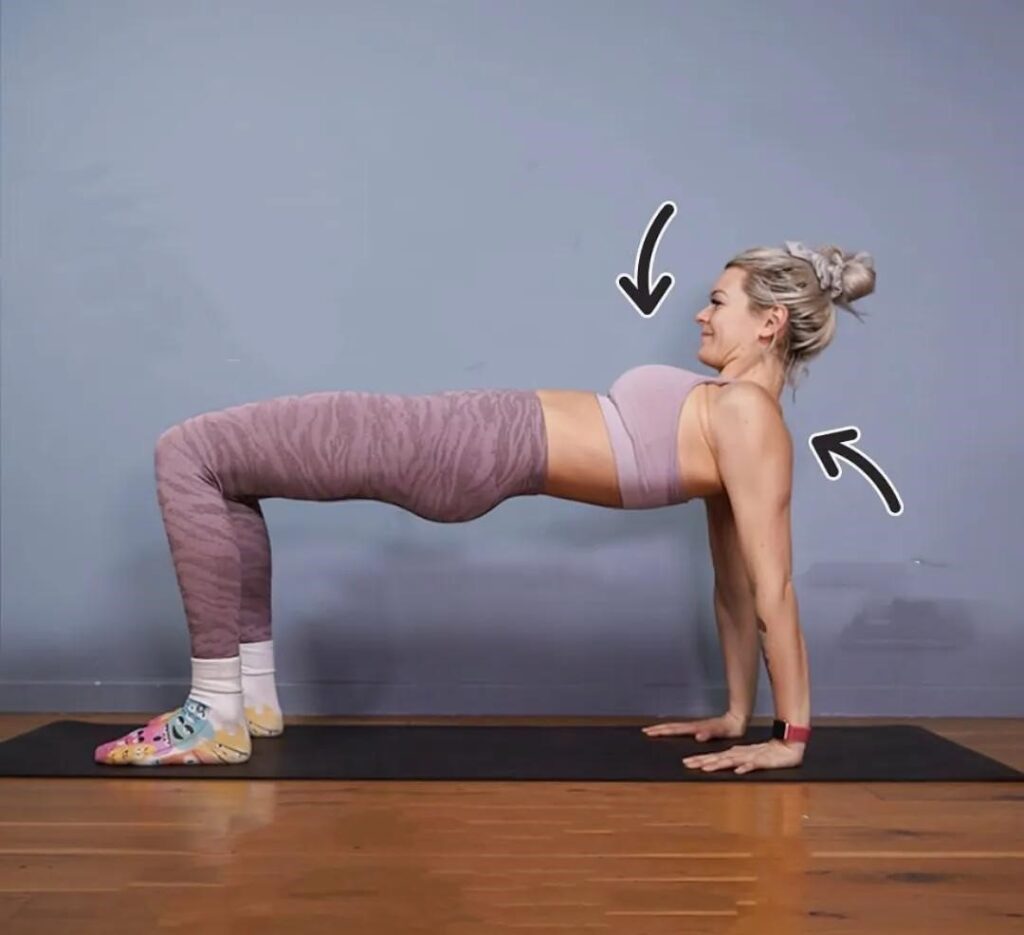
This pose is a dynamic mix of shoulder opening and strengthening, similar to a gentle reverse tabletop or a variation of a Reverse Plank.
How to practice:
- Sit on the floor with your knees bent and feet placed comfortably in front of you.
- Place your hands on the floor behind your hips, fingers pointing toward your body.
- Open your chest as you gently lift through your sternum, allowing the front of the chest to expand.
- As you exhale, engage your core and lift your hips up until your thighs and torso form one straight line, like a flat tabletop.
- Keep your spine and thighs in the same plane, avoiding dropping the hips.
- Slightly tuck your chin to lengthen the back of the neck, without collapsing the head backward.
- Hold for 8–10 breaths, then lower down with control.
Pose 7 – Cow Face Arm Stretch (Gomukhasana Arms)
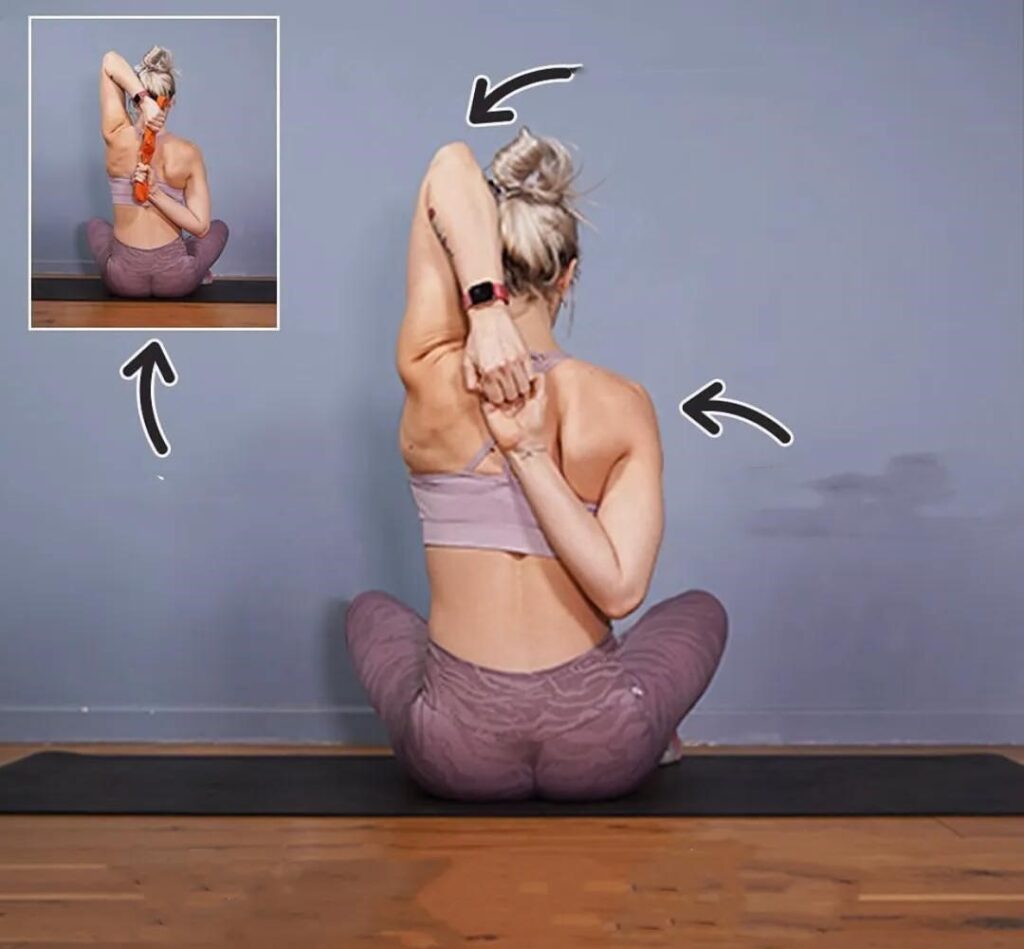
This is a classic shoulder stretch often used in the upper-body portion of Gomukhasana, also known as Cow Face Pose.
How to practice:
- Sit in a comfortable cross-legged position, keeping your spine long and upright.
- Inhale and stretch your right arm straight up toward the ceiling.
- Bend your right elbow and let your right hand reach down the center of your upper back.
- Exhale, engage your core, and internally rotate your left shoulder as you bring your left arm behind your back.
- Try to interlace your fingers or hold hands behind your back. If this isn’t accessible yet, use a strap or towel between your hands as a bridge.
- Keep your chest open and your head aligned with your spine.
- Stay for 8–10 breaths, then switch sides and repeat.
Pose 8 – Prone Shoulder Stretch with Twist
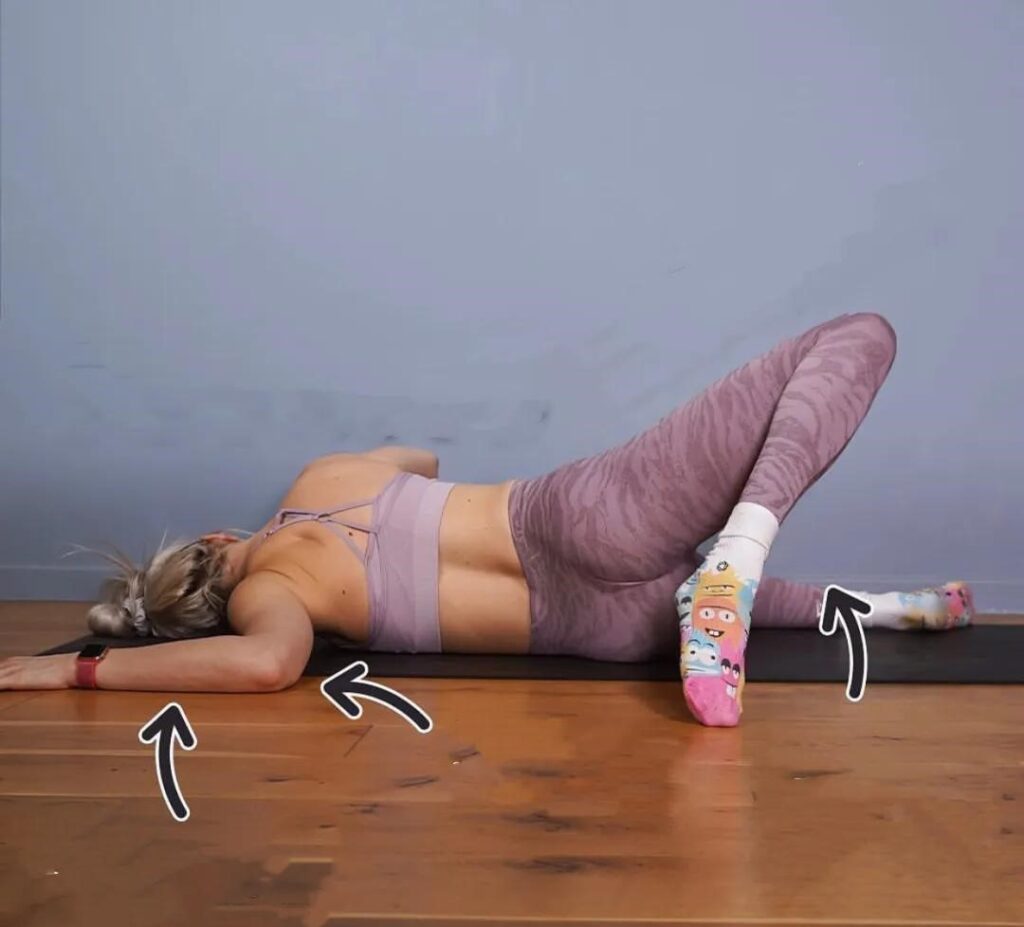
This final pose gently but deeply stretches the front of the shoulder and chest while adding a twist through the spine.
How to practice:
- Lie face down on your mat.
- Extend your right arm straight out to the side, roughly at shoulder height, with your palm facing down on the floor.
- Slowly roll your body toward your left side, using your left leg to help you turn: place your left foot on the floor behind your right leg.
- Let your left shoulder roll back and open, which will intensify the stretch in your right shoulder and chest.
- Relax your head on the mat or a block, and breathe deeply into the front of your right shoulder.
- Hold for about 1 minute, then gently return to your belly and switch sides.
Train Strong, Open Shoulders – Not Overstretched Ones
The goal of shoulder opening isn’t to force your joints into extreme flexibility. Instead, it’s about building strength, mobility, and stability at the same time. When you activate the muscles around your shoulders and pair that strength with mindful stretching, you protect the ligaments and support long-term joint health.
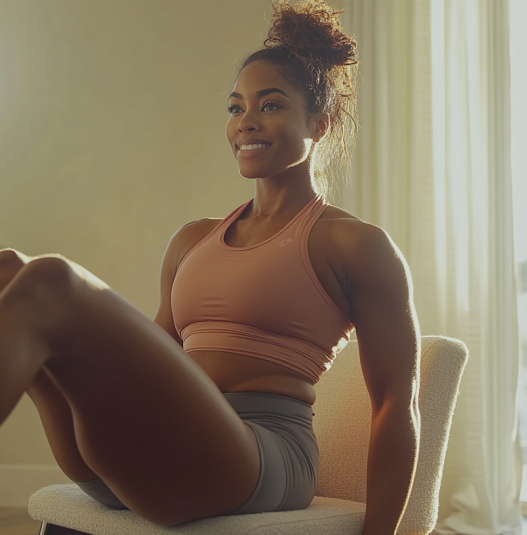
Practice these 8 shoulder yoga stretches regularly to:
- Ease shoulder and neck tension
- Improve rounded posture and hunching
- Slim and tone your shoulders, back, and arms
- Open your chest and breathe more freely
Stay patient, avoid “violent” adjustments, and let your body open at its own pace. Safe, consistent practice is what truly transforms your shoulders.