
Have you ever seen a Matcha Cake create its own avalanche? When you lift the mousse ring, creamy topping cascades down the sides like fresh snow—a dramatic reveal that turns dessert into theater. One bite and you understand: the gentle bitterness of matcha, the sweet whisper of red bean, the cloud-like softness of chiffon, all wrapped in silky milk topping. This Matcha Cake isn’t just dessert. It’s an experience you can create at home.
What Makes Avalanche Cake So Special?
The magic of Avalanche Cake lies in its dual nature. First, there’s the visual spectacle—that dramatic moment when the milk topping flows down the sides, transforming a simple cake into a work of art. Then there’s the taste: perfectly balanced between the earthy bitterness of matcha, the subtle sweetness of red beans, and the creamy richness of the milk topping. Each element plays its part, creating a harmony that lingers long after the last bite.
Part One: The Matcha Chiffon Cake Base
A great Matcha Cake starts with a great chiffon—light, airy, and impossibly soft. 
Ingredients for the Chiffon:
- 12g matcha powder
- 48g hot water
- 3 egg yolks
- 30g sugar
- 21g vegetable oil
- 48g cake flour
- Pinch of baking powder
- 3 egg whites
- Few drops lemon juice
- 30g sugar (for meringue)
Instructions:
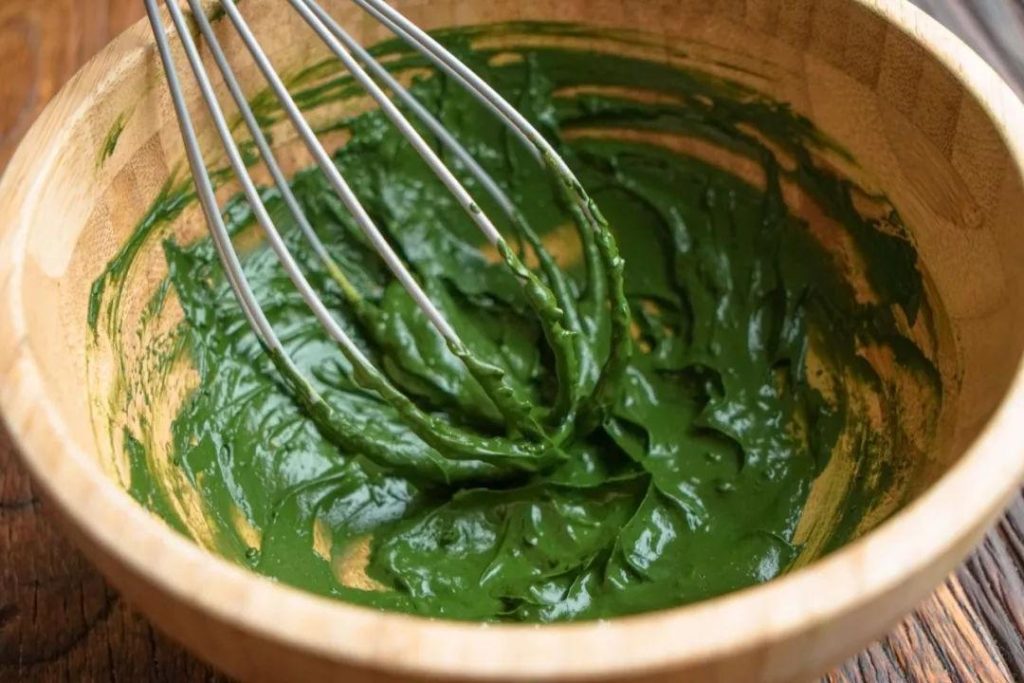
Step 1: Prepare the Matcha Base
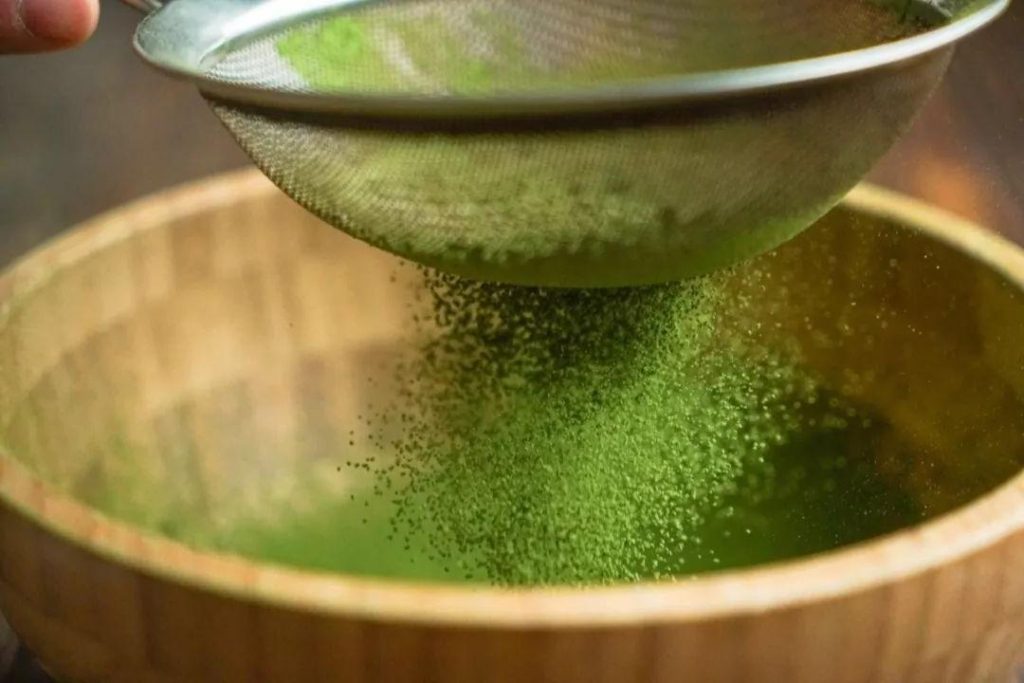
Sift the matcha powder twice to remove any lumps. Add hot water and whisk until completely smooth with no visible particles. Set aside.
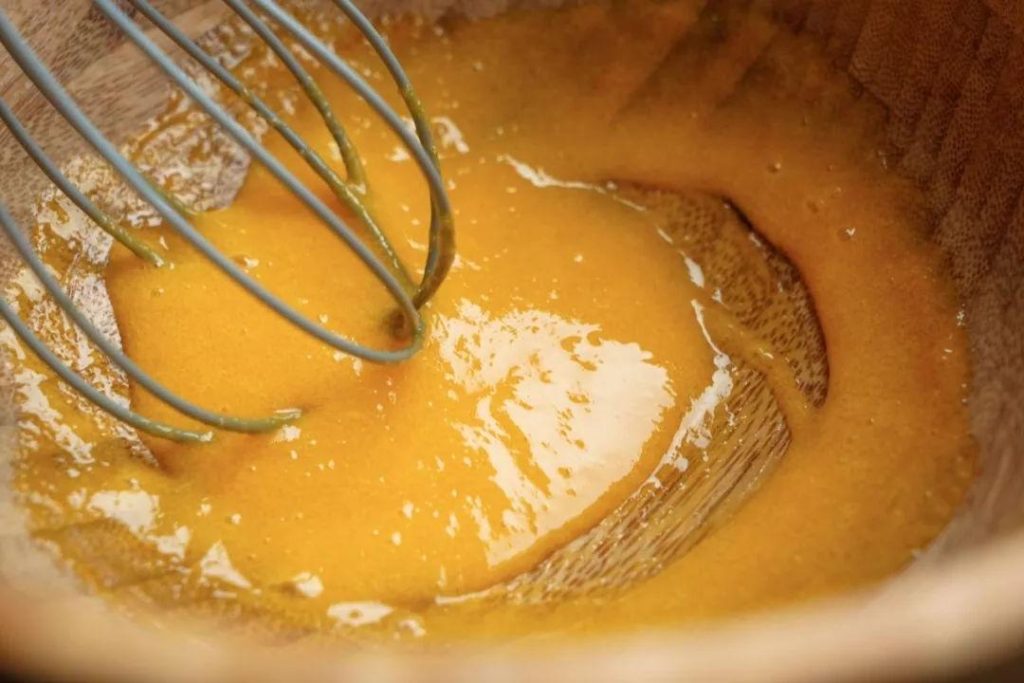
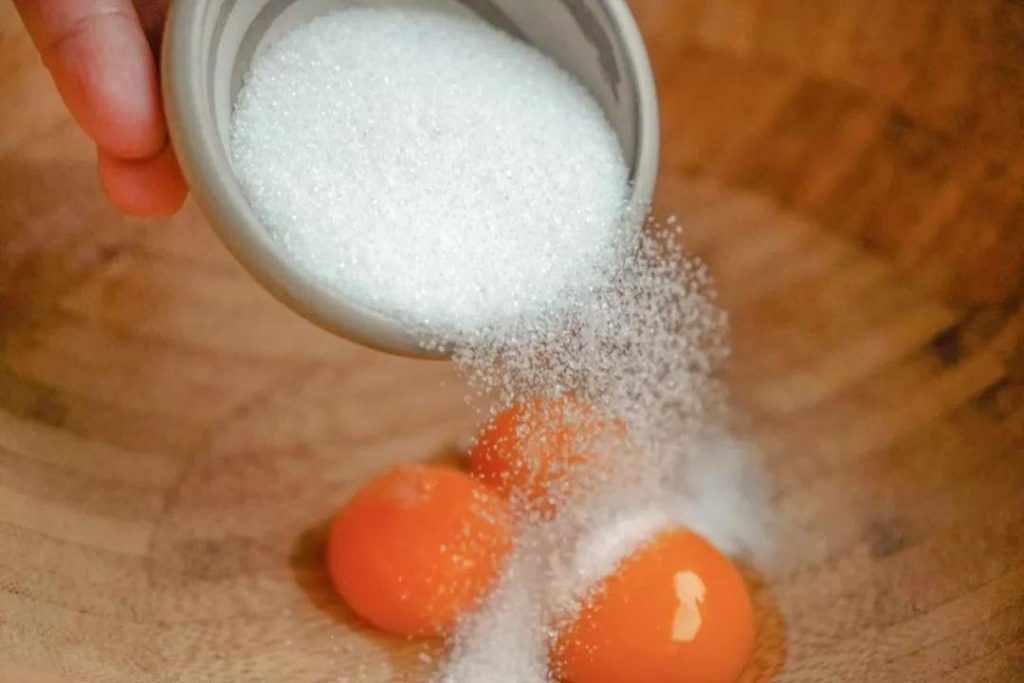
Step 2: Create the Egg Yolk Mixture
In a separate bowl, whisk egg yolks with 30g sugar until slightly pale. Add vegetable oil and mix well. Gradually add the prepared matcha liquid in small amounts, whisking thoroughly after each addition. This prevents the mixture from separating.
Step 3: Add Dry Ingredients
Sift cake flour and baking powder into the matcha-egg mixture. Stir in a gentle Z-shaped motion until just combined. Don’t overmix—you want a smooth batter without developing too much gluten.
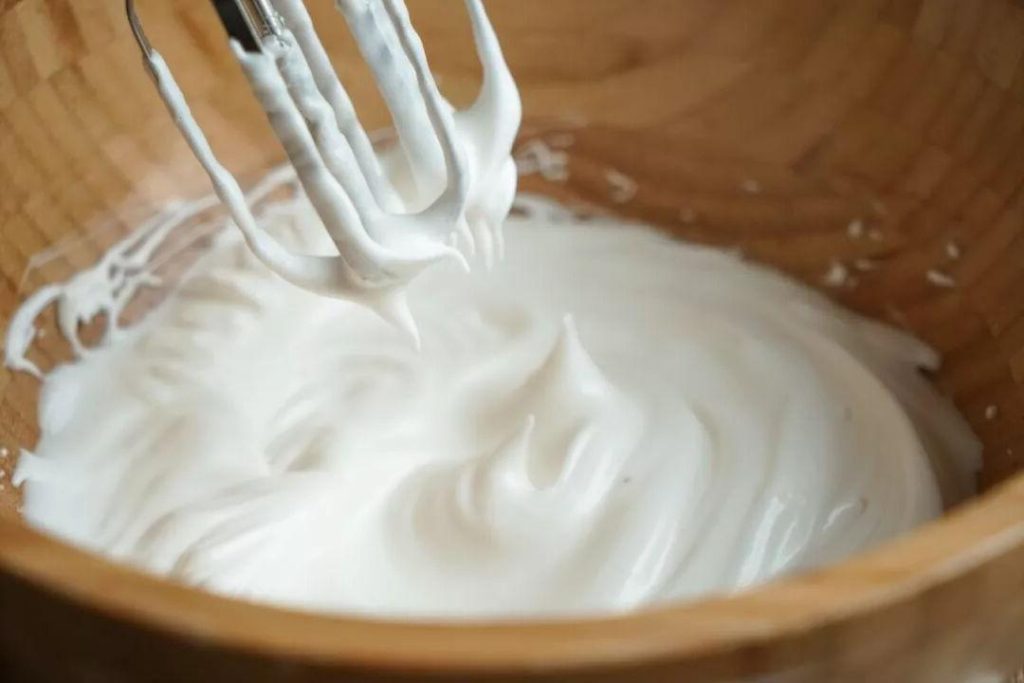
Step 4: Make the Meringue
In a perfectly clean, dry bowl, beat egg whites with lemon juice using an electric mixer. When foamy, gradually add 30g sugar in three parts. Continue beating until stiff peaks form—the meringue should be glossy and hold its shape firmly when you lift the beater.
Step 5: Fold Gently
Add one-third of the meringue to the matcha batter and fold gently with a clockwise motion to lighten the mixture. Add the remaining meringue in two more additions, folding carefully each time. Be gentle and quick—overmixing will deflate the batter and ruin the cake’s fluffy texture.
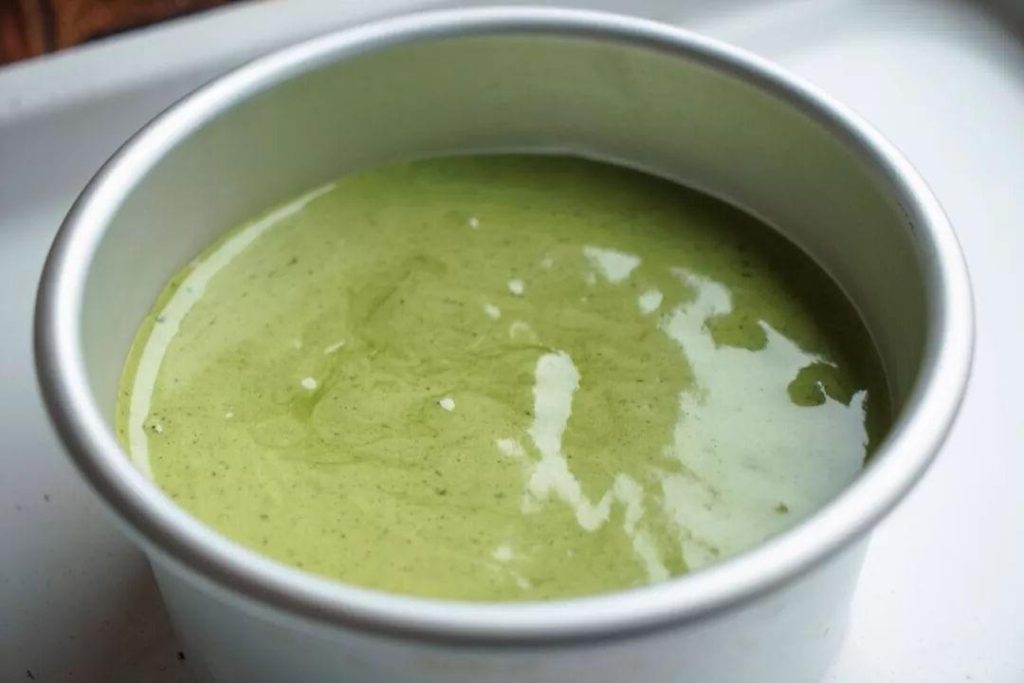
Step 6: Bake the Chiffon
Pour the batter into a 6-inch round cake pan. Tap the pan gently on the counter to release air bubbles. Bake in a preheated 160°C (320°F) oven for about 50 minutes. To test doneness, insert a toothpick into the center—it should come out clean.
Step 7: Cool Upside Down
Remove from oven and immediately invert the pan onto a wire rack. Cooling the cake upside down prevents sinking and maintains its height. Let cool completely before removing from pan.
Part Two: Assembling the Avalanche Cake
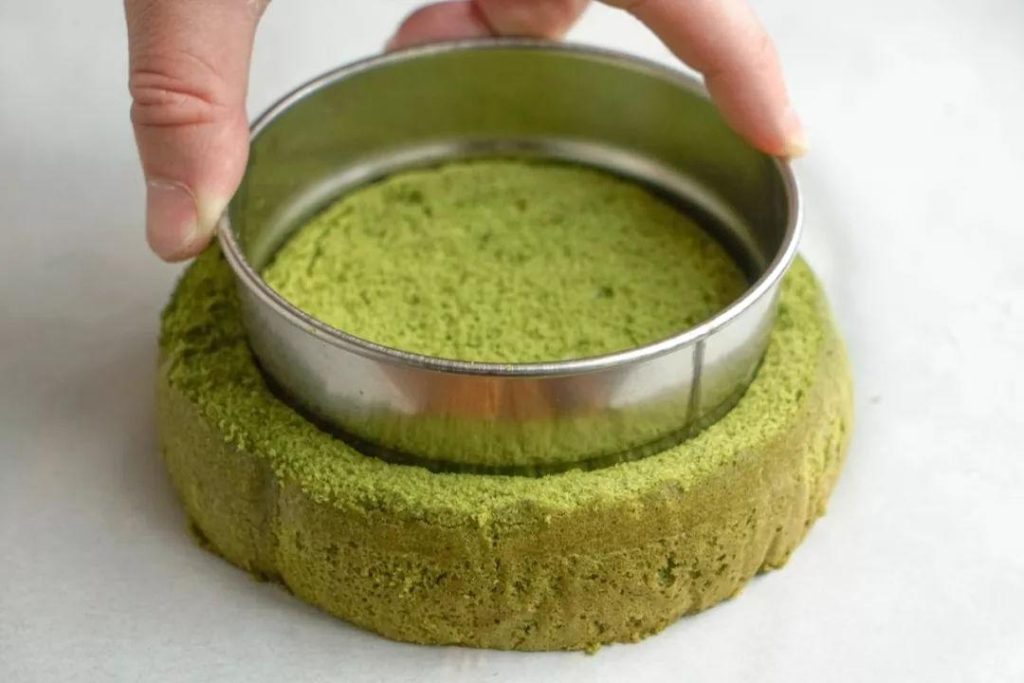
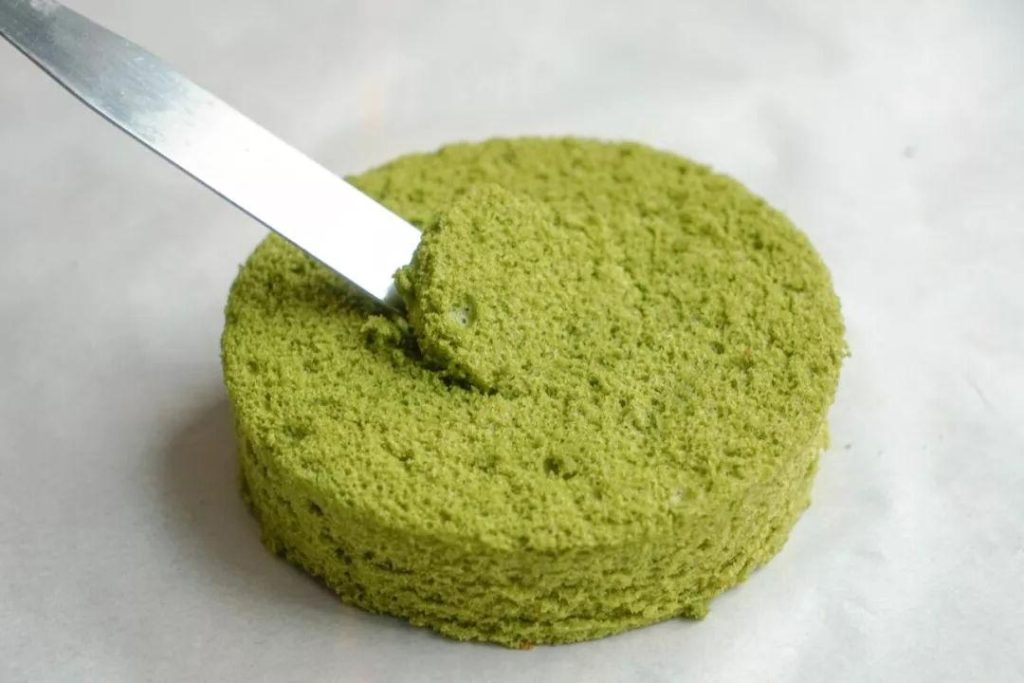
Step 8: Prepare the Cake Base
Once the Matcha Cake is completely cool, use a 4-inch cake ring to cut out the center portion. Don’t cut all the way through—leave about 1 cm at the bottom. This creates a well for the red bean filling.
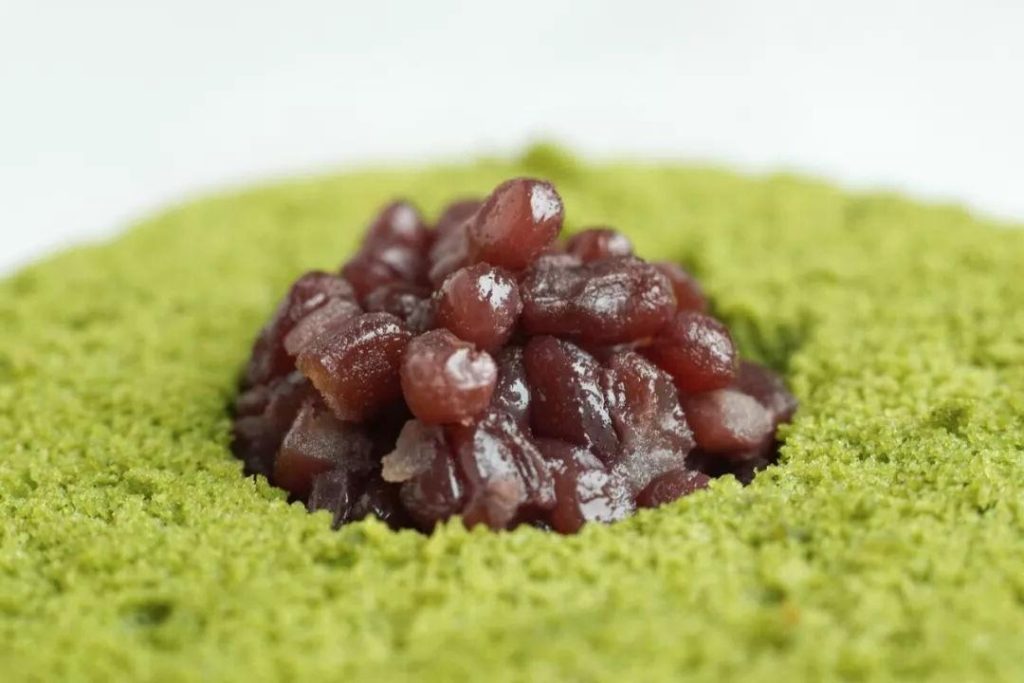
Step 9: Add the Red Bean Surprise
Fill the center well with sweetened red bean paste or whole sweet red beans. This hidden layer adds sweetness and texture to every slice.
Step 10: Make the Matcha Milk Topping
For the topping:
- 50g milk
- 250g heavy cream
- 30g sugar
In a bowl, combine all topping ingredients. Whisk until the mixture thickens slightly—it should still be pourable but hold its shape briefly when lifted. Transfer to a piping bag.
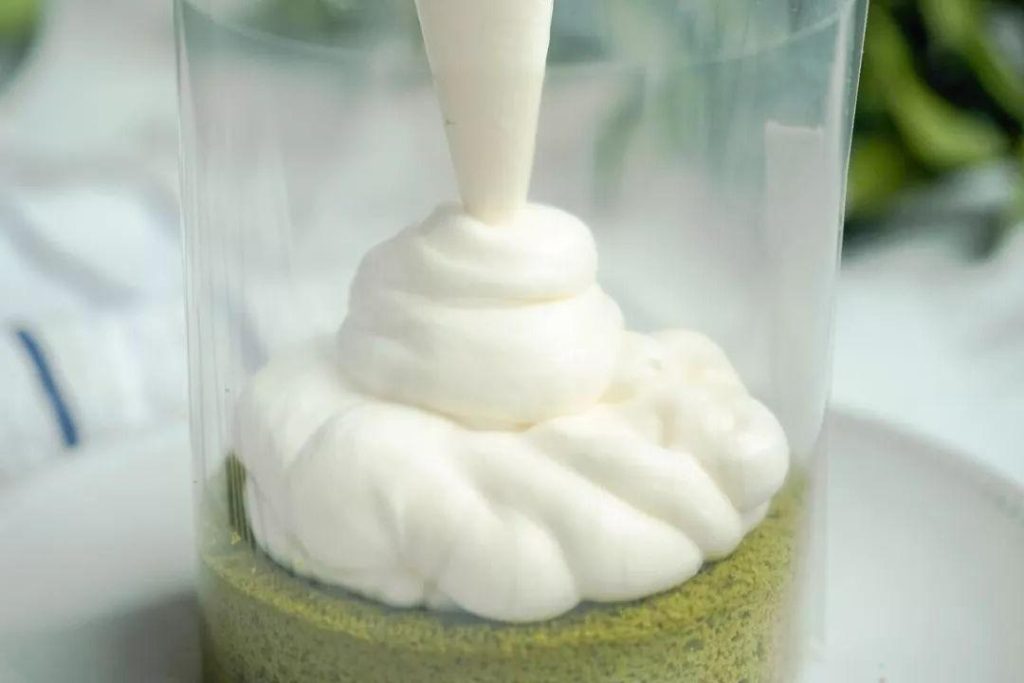
Step 11: Build the Avalanche Effect
Wrap a clear acetate sheet or stiff mousse ring tightly around the cake. Pipe the milk topping over the entire top surface, spreading evenly. Dust generously with sifted matcha powder.
Step 12: The Grand Reveal
This is the moment you’ve been waiting for. Carefully lift the mousse ring straight up. Watch as the milk topping cascades down the sides of the Matcha Cake like fresh snow sliding off a mountain. The effect is nothing short of spectacular.

Why This Cake Deserves a Standing Ovation
This Avalanche Cake isn’t just dessert—it’s an experience. Every element works in harmony:
- The chiffon base provides cloud-like softness that practically melts on your tongue.
- The matcha offers that distinctive earthy bitterness that balances sweetness perfectly.
- Hidden red beans add little pockets of sweetness and texture.
- The milk topping brings creamy richness and creates the signature avalanche effect.
Pro Tips for Avalanche Success
- Strain your matcha: Always sift matcha powder before using to avoid bitter lumps.
- Cool completely: Never assemble the cake while it’s still warm—the topping will melt.
- Wrap tightly: The acetate sheet must fit snugly against the cake to create clean avalanche lines.
- Work quickly: Once the topping is piped, dust with matcha and reveal immediately for the best effect.
- Serve fresh: This cake is best enjoyed within a few hours of assembly.
A Dessert Worth Waiting For
Whether you’re celebrating something special or simply treating yourself, this Matcha Avalanche Cake delivers drama, flavor, and pure joy. The moment that milk topping begins its slow descent, you’ll understand why it earned its name. And the first bite—soft, balanced, impossibly good—will have you reaching for another slice before you’ve even finished the first.
So gather your ingredients, preheat your oven, and prepare for an avalanche of deliciousness. Your kitchen is about to become the most popular dessert destination in town.