


Modern lifestyles have quietly turned tight backs and aching waists into everyday problems. Long hours sitting at desks, staring at phones, or commuting can easily cause tension to build up along the spine.
The good news? A consistent yoga practice can help systematically stretch the deep back muscles, improve circulation, and restore balance between the front and back of the body.
This simple sequence is designed for people experiencing general back stiffness or mild discomfort. Move within a comfortable range and avoid forcing any position. If you already have significant pain or injuries, it’s best to practice under professional guidance. 
With regular practice, these movements can help keep your back relaxed before tightness turns into chronic pain, and may even help prevent sudden injuries.
1. Garland Pose Variation (Seated Forward Release)
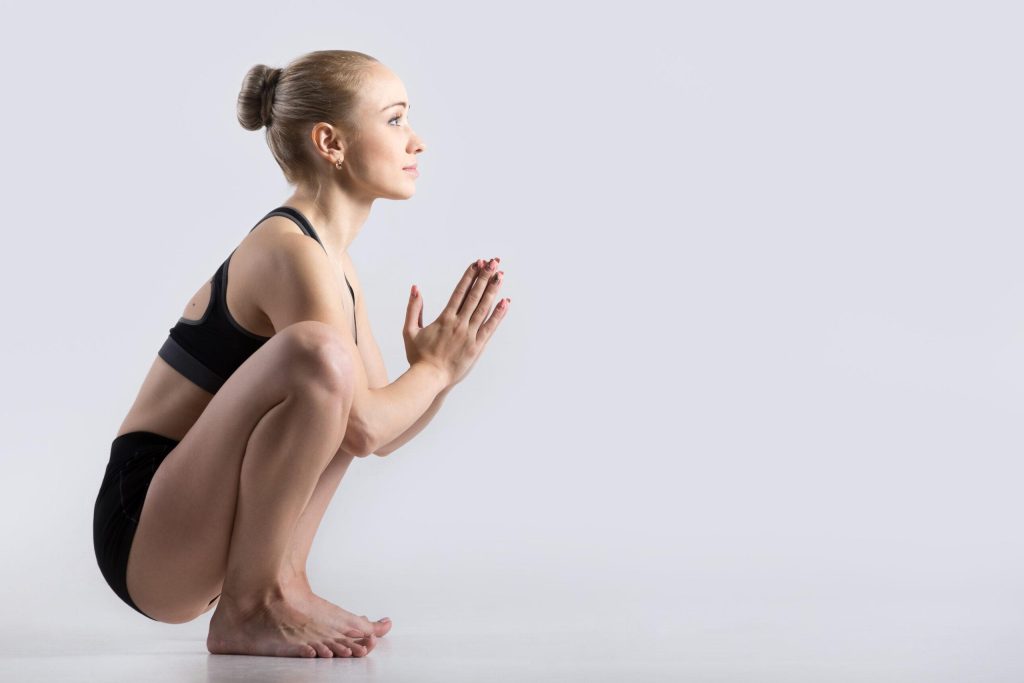
Goal: Release tension in the back and expand the space between the ribs.
This gentle movement helps lengthen the spine and relax the muscles surrounding it. It’s a calming way to start the sequence.
How to practice
- Sit on a chair with your legs about one foot apart.
- Place your hands on the seat or armrests to reduce pressure on the pelvis.
- Keep the pelvis, spine, and head aligned as one unit.
- Slowly hinge forward until the pelvis can no longer tilt forward.
- As you exhale, gently round the back from the base of the spine upward, creating a natural arc.
- Stay here for 8–10 slow, deep breaths, noticing the gradual release across your back.
This variation is inspired by the traditional yoga posture Malasana.
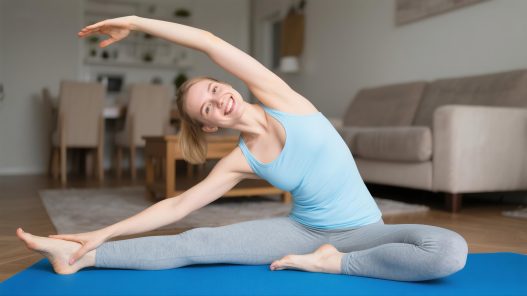
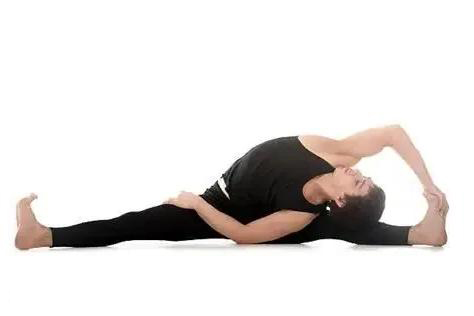
2. Garland Pose Variation (Side Stretch)
Goal: Stretch the side waist and increase spinal flexibility.
After loosening the back muscles, this variation introduces a gentle side bend that awakens the spine and expands the rib cage.
How to practice
- Start from the previous position and lift your chest until it is level with your thighs.
- Place your left hand on the outside of your left thigh near the knee, thumb resting on the thigh.
- Use your right hand to hold the outside of your left ankle.
- Slowly guide your torso into a left side bend.
- Keep the chest and abdomen close to the left thigh while the neck softly lengthens downward.
- Stay for 8 breaths, then switch sides.
To exit, bring your torso back to center, press your hands gently into your knees, and slowly sit upright.
3. Seated Wide-Leg Twist (Upavistha Variation)
Goal: Stretch the back and side body while opening the chest.
This posture combines gentle rotation with lengthening through the spine.
It is inspired by Upavistha Konasana, a classic yoga pose known for improving flexibility and posture.
How to practice
- Sit on the floor and spread your legs comfortably wide.
- Keep your spine upright and tall.
- Place your right hand behind you and your left hand on the floor in front.
- Inhale to lengthen your spine.
- Exhale and gently rotate your torso to the right.
- Lift your right arm and extend it sideways while allowing the sternum to turn slightly upward.
- Hold for 8 breaths, then repeat on the other side.
This movement encourages the spine to rotate smoothly and helps expand the chest.
4. Bharadvaja-Inspired Twisted Prone Pose
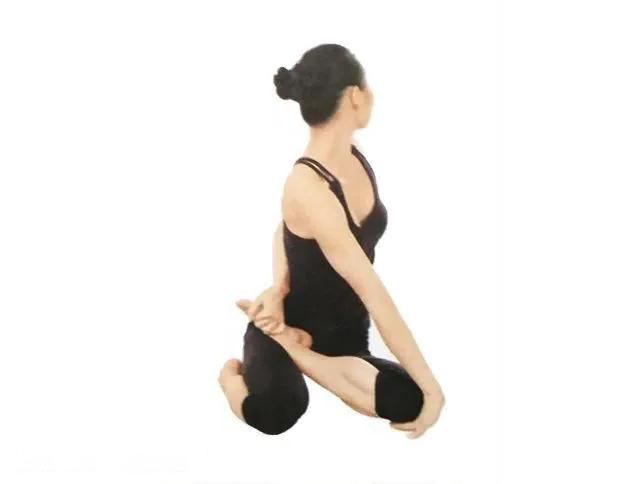
Goal: Create a progressive twist along the spine—from the base all the way to the neck.
Spinal twists help maintain mobility and nourish the tissues around the vertebrae. This variation draws inspiration from Bharadvajasana.
How to practice
- Lie on your stomach.
- Bend both knees and place your left ankle over the arch of your right foot.
- Rotate your torso slightly toward the floor while lengthening the sternum away from the pelvis.
- Press your right palm firmly into the floor.
- Allow the twist to gradually travel up the spine—from the lower back to the neck.
- Hold for 8 slow breaths, then switch sides.
Move slowly and avoid forcing the twist.
5. Passive Supported Backbend
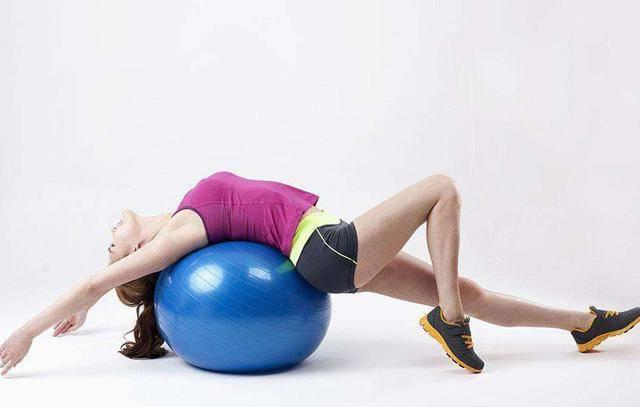
Goal: Balance the front and back muscles of the body while deeply relaxing the spine.
This restorative posture uses support to create a gentle backbend without strain.
How to practice
- Sit on a folded blanket with your knees bent.
- Slowly lie back so your spine is supported by the blanket.
- Lift your pelvis slightly and lengthen your tailbone away from your head before lowering back down.
- Extend both legs forward with toes pointing upward.
- Stretch your arms overhead and rest them on the floor.
- If your shoulders feel tight, place a blanket under your arms for support.
- Stay here for 2–3 minutes, breathing slowly.
To exit the pose, roll gently onto one side and sit up slowly.
This restorative approach is similar to Supported Bridge Pose.
Important Safety Notes
This sequence is designed for relieving back tension and mild discomfort.
It may not be suitable for people with conditions such as:
If you experience significant back pain or have a diagnosed spinal condition, consult a professional before practicing.
Practice Tips
To get the most benefit from this sequence:
- Stay within a comfortable range of motion.
- Focus on steady, relaxed breathing.
- Use props like chairs or blankets for support.
- Progress gradually, starting with the gentlest variations.
Consistency matters more than intensity. Even a short, regular practice can help your back feel lighter and more relaxed over time.
Back stretches can feel surprisingly personal—what works wonders for one person may feel different for another.
Do you have a favorite pose or trick that helps relieve back tension?
Share your experience in the comments and let’s help each other build stronger, healthier backs!