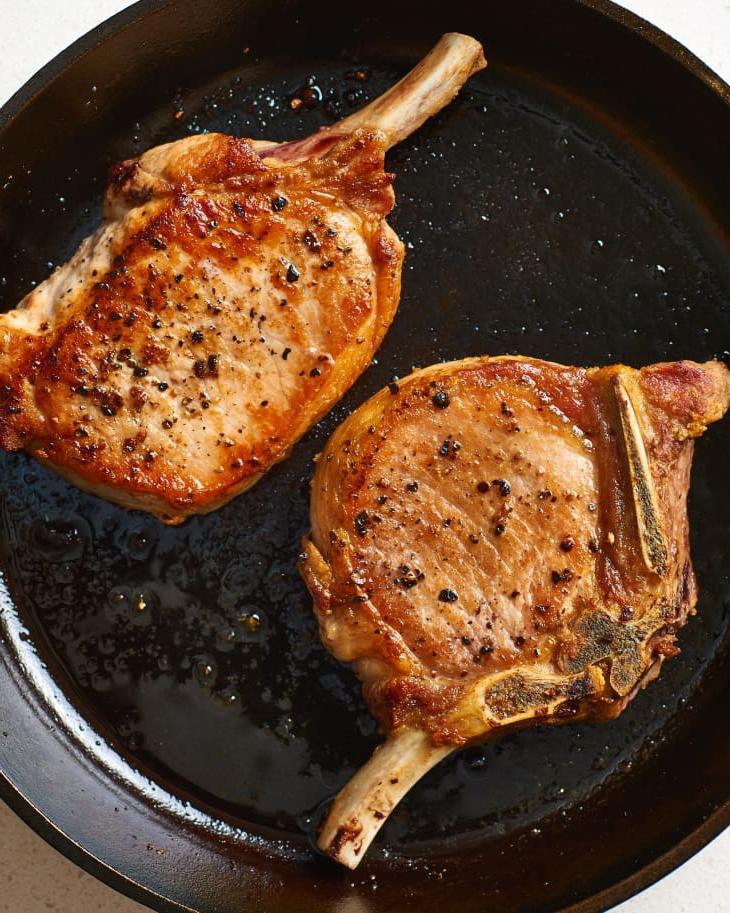
Imagine if I could promise you perfectly cooked, tender pork chops every time you made them. Would you believe me? Or have you been put off by too many dry, overcooked pork chop dinners? While grilling pork chops certainly has its charm, I’m currently enamored with an even simpler technique: using the oven.
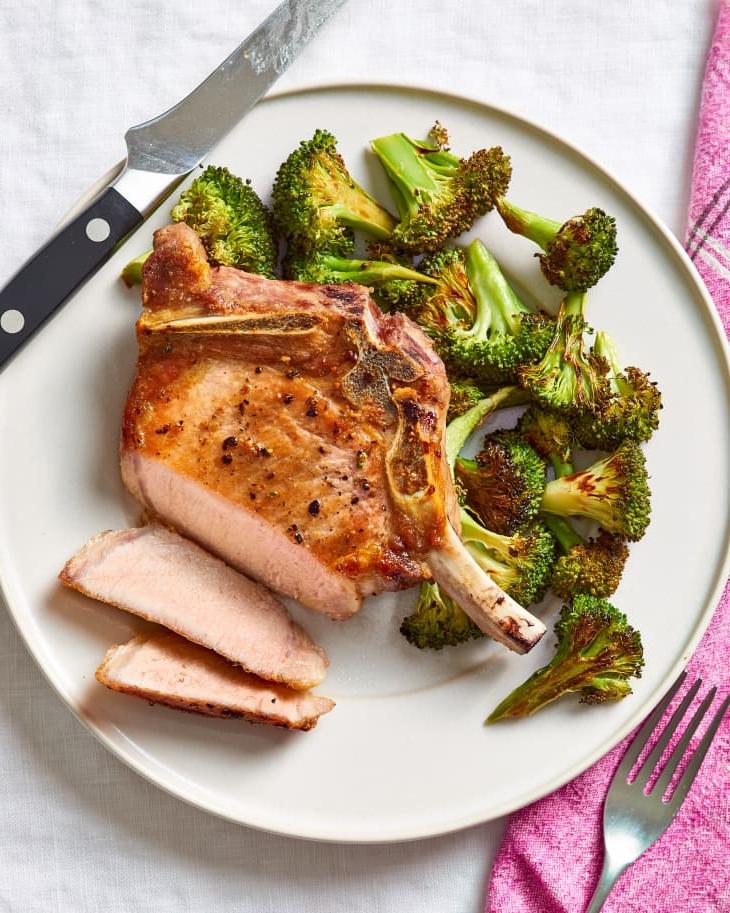
Why Oven-Roasting is the Best Method for Pork Chops
Among the various methods to prepare pork chops, the oven approach delivers the most succulent, tender results. Here’s how you can achieve that:

Start with Bone-In Pork Chops for Best Results
I strongly suggest opting for bone-in pork chops. They might need a tad more time to cook than boneless ones, but in my experience, they ensure tenderness. And by “a tad more time,” I mean just a few extra minutes, not a significant impact on your meal preparation.
Prevent Dry Pork Chops with Brining!
Once you’ve brought your pork chops home, it’s time to brine. Brining is a foolproof way to ensure your pork chops remain juicy when cooked. Even a brief 30-minute soak (or up to four hours) can make a world of difference.
Brining isn’t strictly necessary, but if you have the time, it’s highly recommended. It actually changes the meat’s cellular structure, making the chop noticeably juicier. The salt brine also seasons the meat from the inside out. It won’t taste overly salty, just well-seasoned. You can enhance the flavor further by adding garlic, peppercorns, fresh herbs, or lemon to the brine. If bland pork chops are your concern, brining is your solution.
Tips for Cooking Tender, Juicy Pork Chops in the Oven
- Choose Bone-In Pork Chops: Though they take longer, the bone-in cuts are fattier, making the meat juicier and more tender.
- Brine for Juiciness: This optional step guarantees a juicy, well-seasoned piece of meat.
- Sear on Stovetop, Finish in Oven: This method prevents overcooking, ensuring a crisp exterior without a rubbery interior.
Avoid Overcooking with the Stovetop-to-Oven Technique
Pork chops are tender and cook quickly, which means they’re also easy to overcook. Here’s why I prefer starting them on the stovetop for a good sear, then finishing them in the oven:
- Controlled Cooking: The gentle heat of the oven helps regulate cooking time more precisely.
- Prevents Overcooking: It ensures the outside doesn’t get tough or dry before the inside is done.
- One-Pan Method: You can heat the skillet in the oven, then move it to the stovetop for searing, simplifying cleanup.
Ingredients:
For the Brine (Optional):
- 3 cups cold water, divided
- 3 tablespoons kosher salt (or 2 1/2 tablespoons table salt)
- Optional flavorings: 2 smashed garlic cloves, 1/2 teaspoon black peppercorns, 1 bay leaf
For the Pork Chops:
- 2 to 4 center cut, bone-in pork chops (3/4-inch to 1-inch thick, about 1 pound each)
- Olive oil
- Salt
- Pepper
Instructions:
Brine the Pork Chops (Optional): If time allows, brining adds flavor and ensures juiciness. Boil 1 cup of water, add salt and flavorings, then cool with 2 more cups of cold water. Submerge the chops in the brine, cover, and refrigerate for 30 minutes to 4 hours.

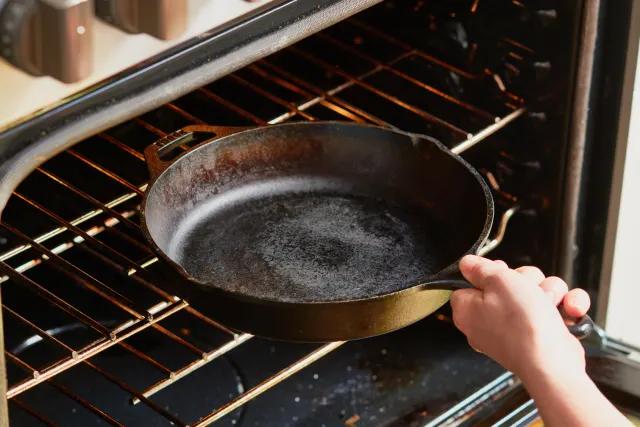
Heat Oven and Skillet: Preheat oven to 400°F with a large oven-safe skillet inside. Prepare the pork chops while the oven heats.
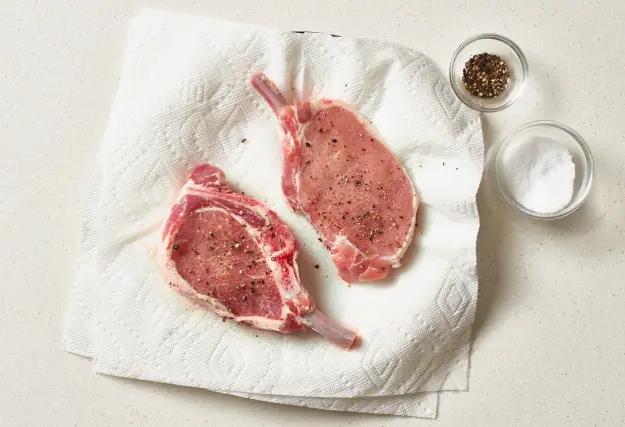
Season the Pork Chops: Remove chops from brine or packaging, pat dry, rub with olive oil, then season with salt and pepper. Let them sit while the oven finishes heating.
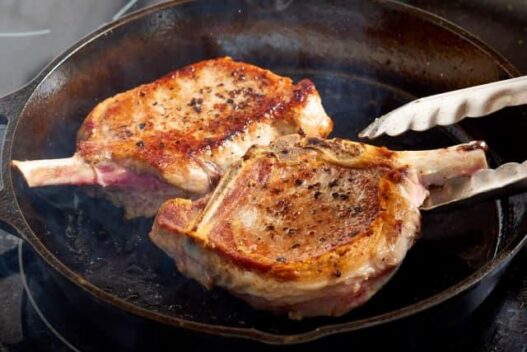
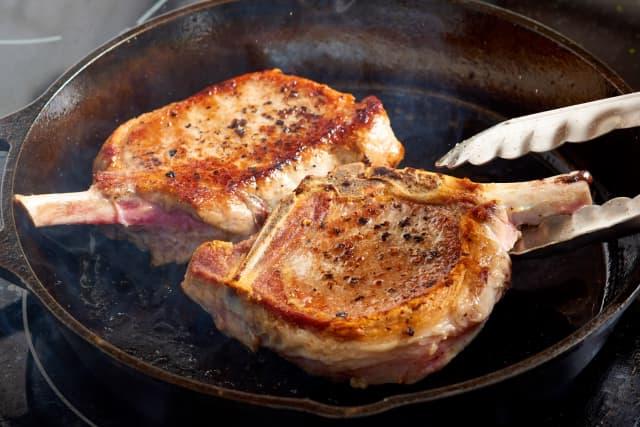
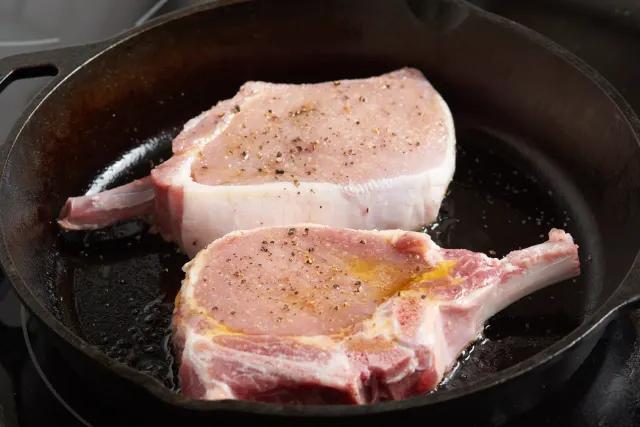
Sear on Stovetop: Carefully remove the hot skillet from the oven, place it over medium-high heat on the stovetop. Add pork chops, searing until golden-brown, about 3 minutes.
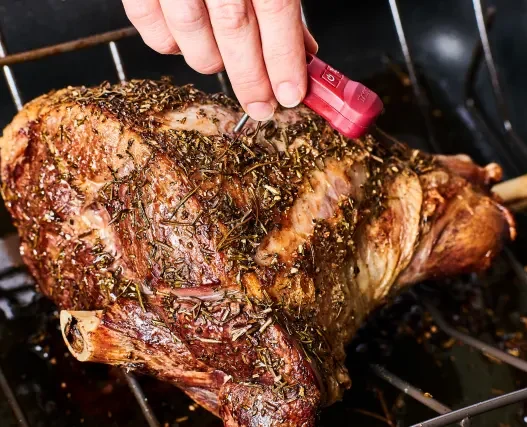
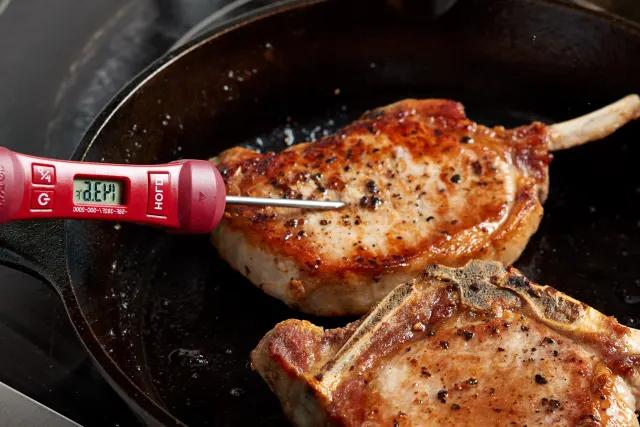
Finish in the Oven: Flip the chops, then transfer the skillet to the oven. Roast until the internal temperature reaches 140°F to 145°F, checking after 6 minutes and every minute or two after.
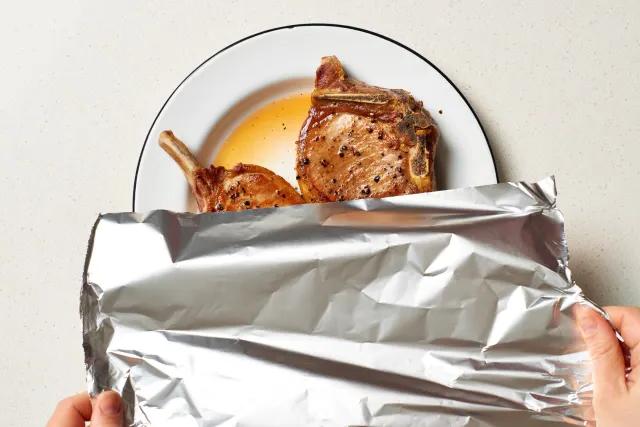
Rest the Chops: Transfer chops to a plate, pour over any pan juices, tent with foil, and let rest for at least 5 minutes before serving.
Enjoy your perfectly cooked, juicy pork chops!


