Follow these simple steps to ensure a stress-free, safe, and effective nail trimming session for your feline friend.
Trimming Your Cat’s Claws at Home: Secrets Every Pet Owner Needs to Know
As responsible pet owners, grooming our cats is non-negotiable—and that includes trimming their claws. But let’s face it, for some cats (especially the shy or finicky ones), trimming claws can feel like a daunting task, especially if you’re new to it. Don’t panic—it’s all about having a plan to make the process as smooth and stress-free as possible for both you and your kitty.
In this article, we’ll walk you through seven vet-approved steps to properly trim your cat’s claws at home. If you’re overwhelmed or worried about your cat’s health during the process, don’t hesitate to take a break or consult a professional groomer for assistance.
Step 1: Gather Your Tools
Before you get started, you need to have the right equipment. Never use human nail clippers or dog clippers on your cat’s claws. They are simply not designed for the job and could make things harder or even injure your cat.
Claw Clippers
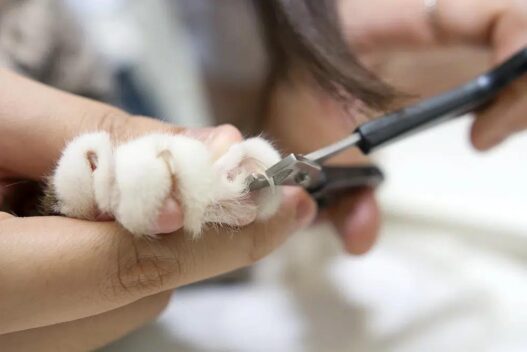
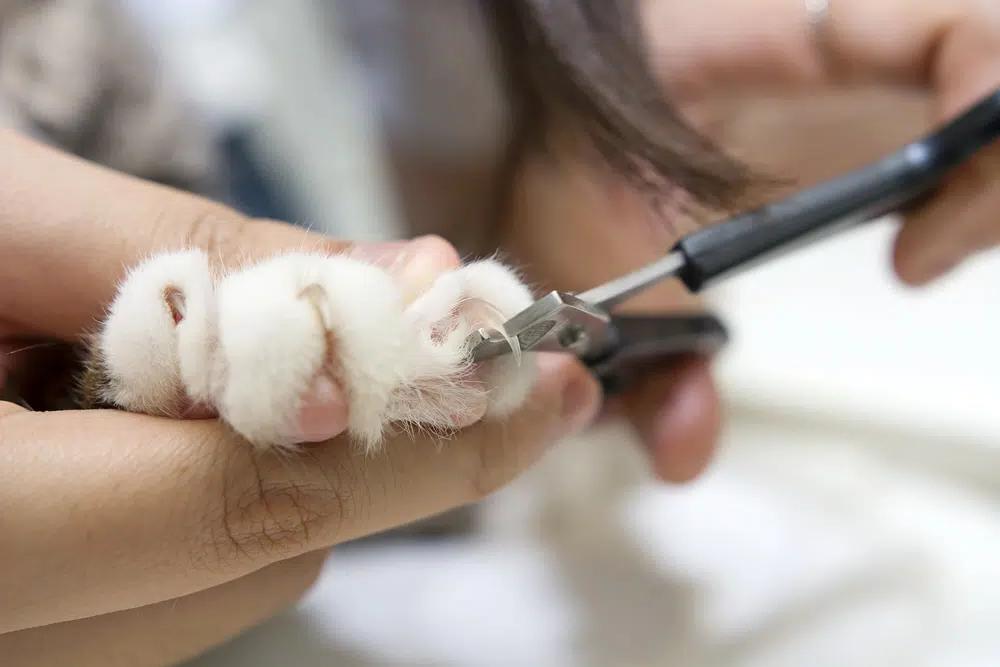
Start by choosing a pair of cat-specific clippers. There are several types to choose from, each with its pros and cons. For example, scissor-style clippers resemble regular scissors but are specially designed to cut your cat’s claws. These are great for beginners.
If your cat has particularly tough claws, you might need pincer-style clippers. They offer extra strength to break through hard claws, but be cautious about where you cut. Another option is a guillotine-style clipper, which can keep the blades sharper for longer, but might be trickier to use, especially if you’re a newbie.
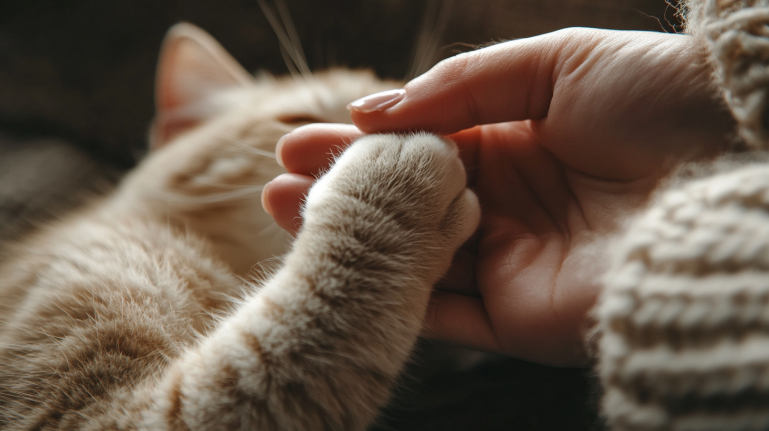
Safety Tip: If your cat is squirming, wrap them in a towel or have a second person help hold them still. And don’t forget the treats! Positive reinforcement will keep your cat calm and cooperative. Have some styptic powder on hand, just in case you accidentally cut too deep.
Step 2: Create a Calm, Quiet Environment
To ensure a peaceful trimming session, choose a quiet, calm spot in your home where you won’t be disturbed. If your cat gets nervous around noise or commotion, give them time to relax before you start trimming. Calm your kitty by gently petting them and talking softly to soothe their nerves.
Pro Tip: Try to choose a space away from other pets and household distractions. Your cat will appreciate the peace and quiet!

Step 3: Get Your Cat Into a Comfortable Position
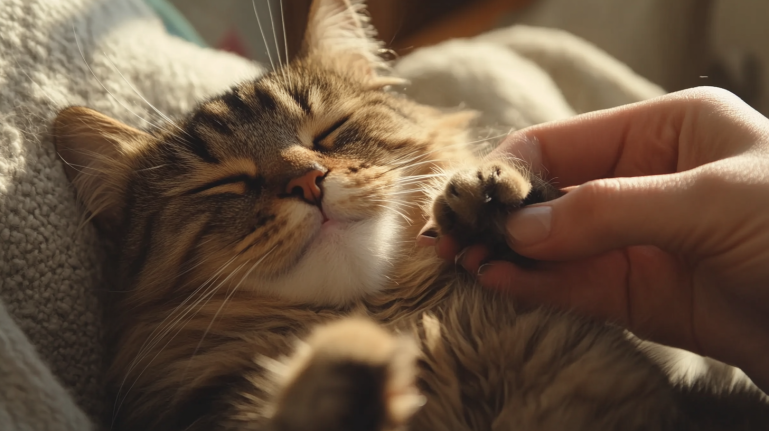
Once your cat has relaxed, you’ll need to position them properly for the trimming. There’s no one-size-fits-all position, so experiment with different ones to see what your cat prefers. Some cats might be comfortable sitting on your lap, while others may prefer lying down near your chest.
If your cat gets too fidgety or seems uncomfortable in any position, try using a towel or a blanket to wrap them up snugly—leaving only one paw exposed at a time. The more often you trim your cat’s claws, the better you’ll get at recognizing which positions work best for both of you.

Step 4: Identify the Claw and the “Quick”
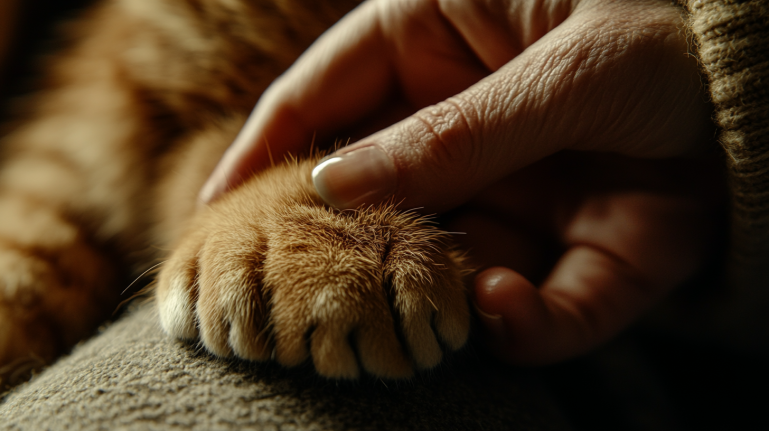
To safely trim your cat’s claws, gently hold their paw and press on the pad to extend the claws. You’ll see the clear nail and a pinkish area—this is the “quick,” or the live tissue inside the claw. Avoid cutting into the quick, as it’s sensitive and can cause bleeding. Stick to trimming just the hard white portion of the nail.
Step 5: Trim at the Right Angle
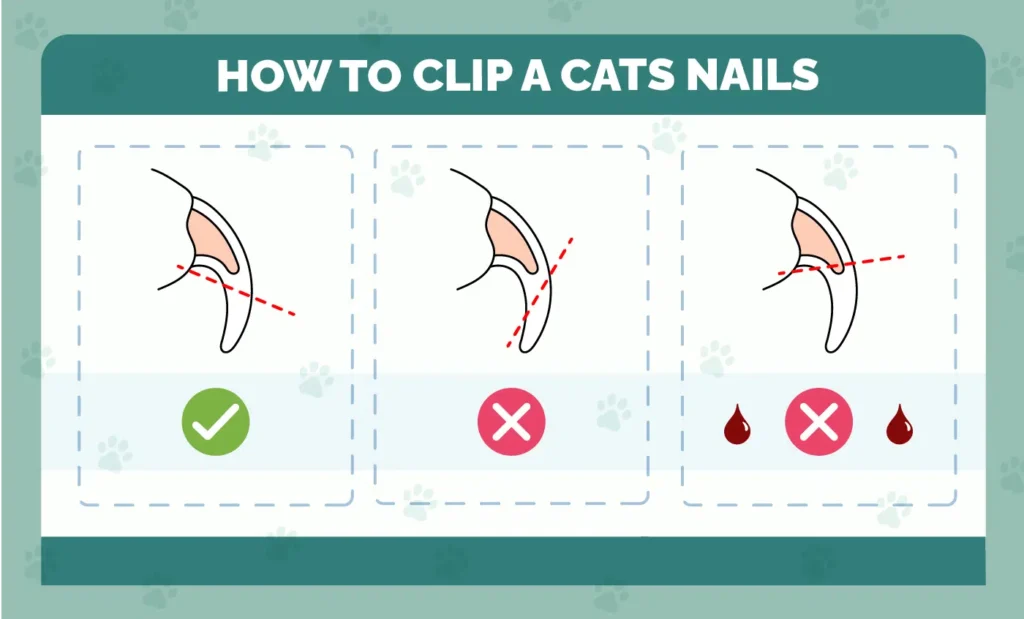
When you start trimming, cut at a slight angle, not straight across. This ensures the claws are naturally aligned when your cat walks. While you might feel the urge to trim slowly, be confident and decisive. If you cut too slowly, you might accidentally crush the nail instead of cutting it cleanly.
Step 6: Trim Gradually
Don’t rush the process. Trim a little bit at a time to avoid cutting the quick. This also gives you the chance to gauge your cat’s reaction. If your cat starts getting anxious or growling, take a break. Patience is key here—go at a pace that’s comfortable for both you and your pet.
Step 7: End on a Positive Note
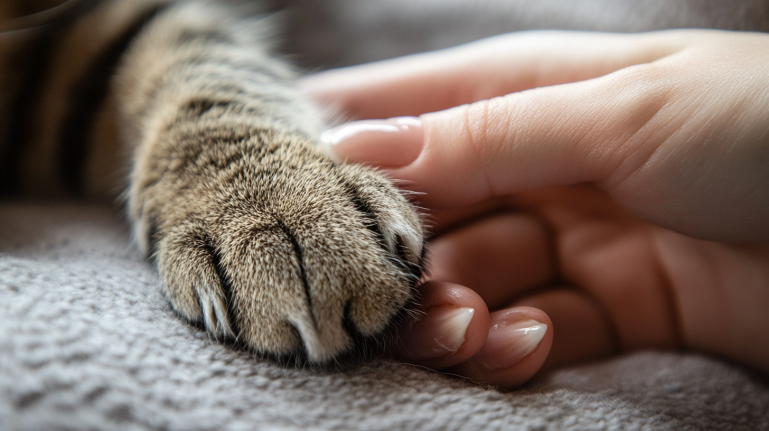
After you’ve trimmed your cat’s claws, end the session with something positive and rewarding. Give your kitty a treat, a hug, or some playtime. Reinforce the positive experience, so your cat associates claw trimming with something good. Remember, it’s all about building trust!

Conclusion:
While trimming your cat’s claws might seem intimidating at first, it doesn’t have to be! By following these seven simple steps, you can make the process much easier and stress-free. Gather your tools, stay calm, and be patient—before you know it, your cat will be used to their claw trims and you’ll both be more relaxed.
Trimming your cat’s claws at home is a great way to bond with your pet, and the more you practice, the easier it gets. Stay consistent, stay positive, and happy grooming!


