

A friend once visited with her young daughter. The child was watching Crayon Shin-chan—an episode where the mother makes mochi for the family.
“Uncle Jiang, what’s mochi?” she asked.
I’d never made it either. But I looked up a recipe. And before I knew it, my mouth was watering. These little things were just too adorable. Even a grown man like me felt a flutter of something soft. 
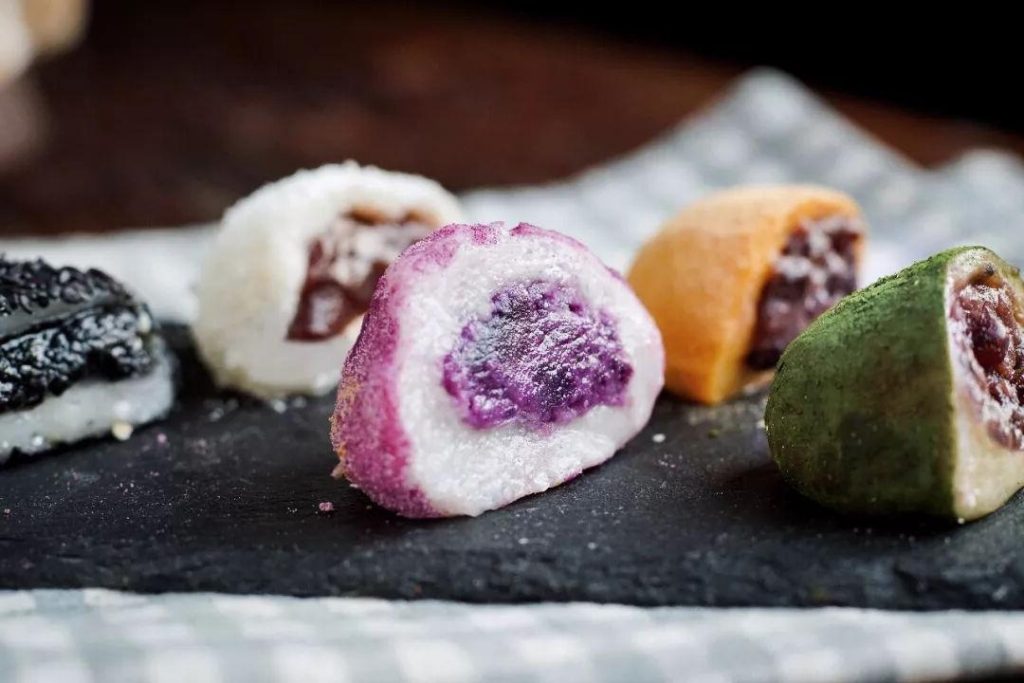
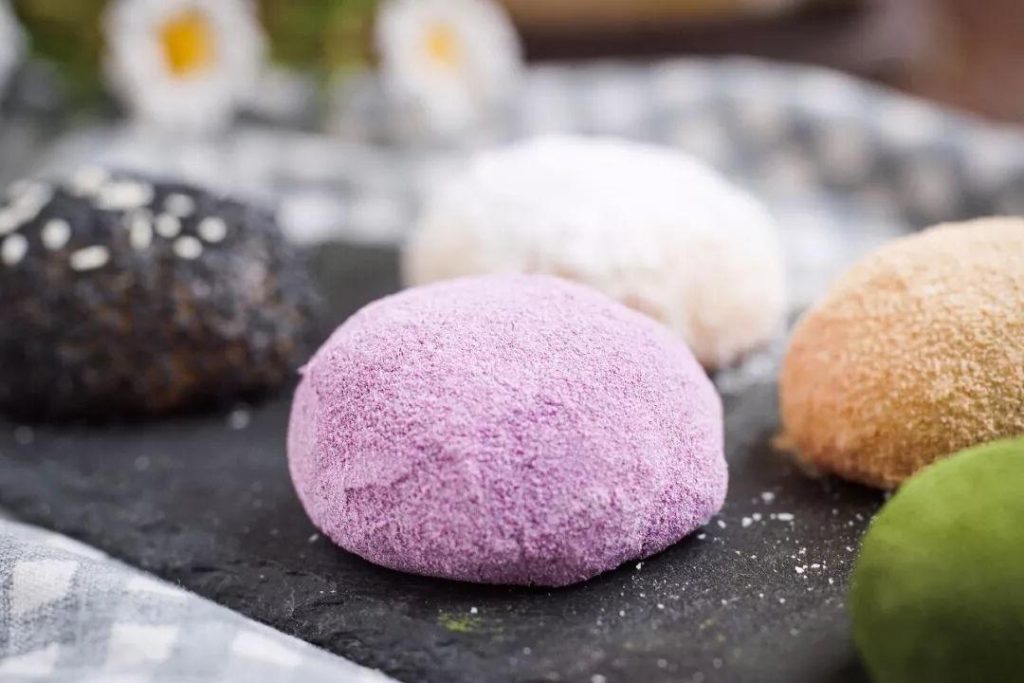
So I set aside a day. I made five colors: matcha, purple sweet potato, black sesame, coconut, and roasted soybean flour. And I stuffed them too—sweet surprises hidden inside. Plump little balls, glowing in the afternoon light. I tried one first. Chewy but not sticky. Soft but not greasy. Honestly, I thought I could sell these.
I sent some to the little girl. Her parents told me she couldn’t bear to eat them. She poked at them with her finger for the longest time before finally taking a tiny bite. Her eyes turned into happy little slits, as if she’d gotten the most wonderful toy.
I was glad. Another happiness-making recipe, added to my collection.
Matcha Mochi
Ingredients:
- 125g glutinous rice
- Water
- 2g matcha powder
- Sweet red bean paste (anko)
- Sweetened red beans (optional)
Step-by-Step:
Step 1: Soak the Rice
Rinse 125g glutinous rice. Soak in cold water for 2 hours.
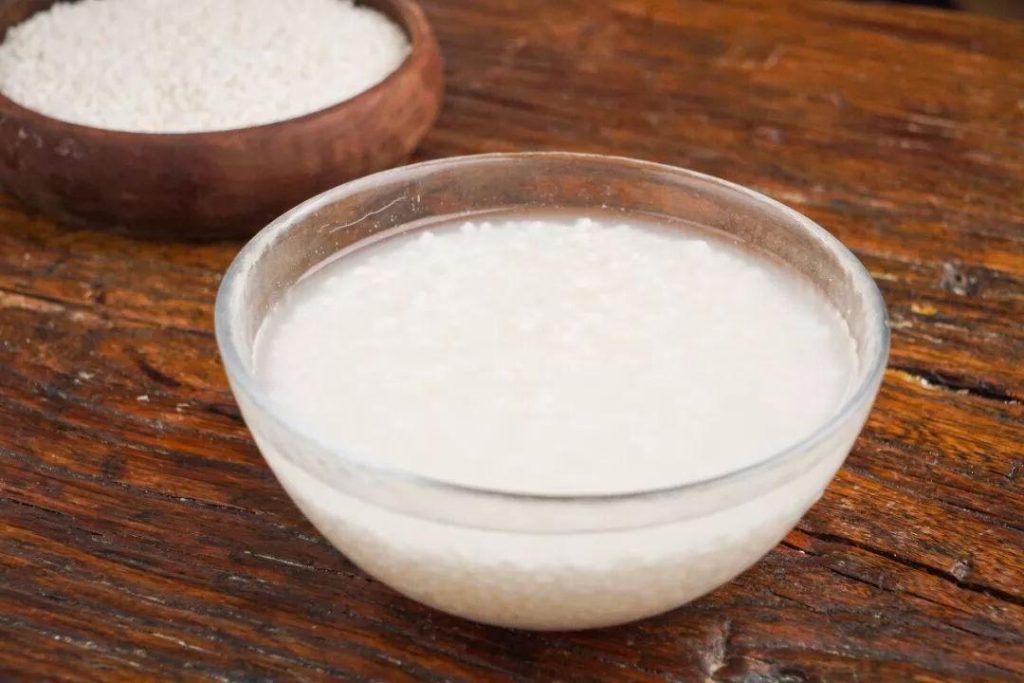
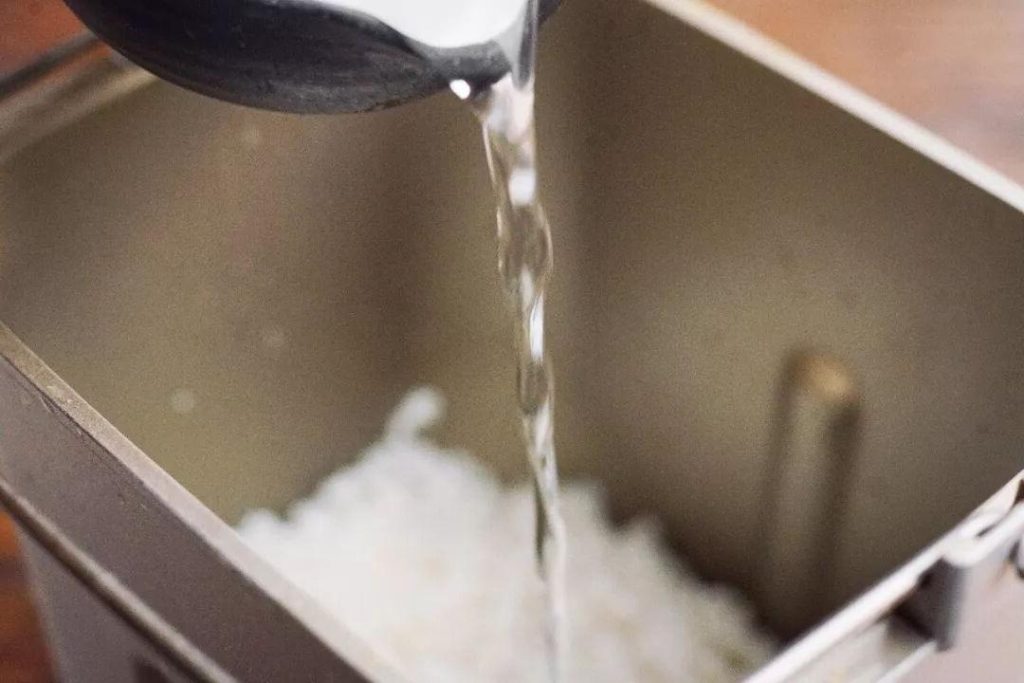
Step 2: Cook the Mochi
Drain the soaked rice and transfer to a bread machine. Add water just until it reaches the level of the rice. Add 2g matcha powder and stir. Close the lid and set to the mochi program (about 50 minutes).
No bread machine? Use 90g glutinous rice flour. Gradually add 120g boiling water, stirring and kneading until uniform. Steam over boiling water for 20 minutes.

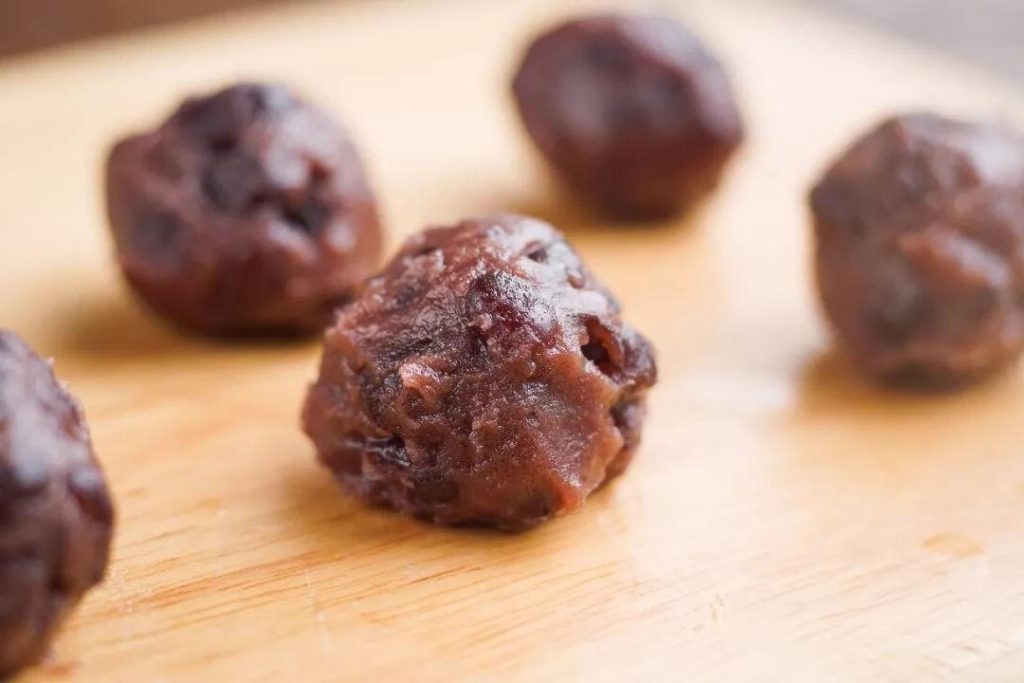
Step 3: Make the Filling
Mix sweet red bean paste and sweetened red beans in a 1:1 ratio. Roll into 17g balls.
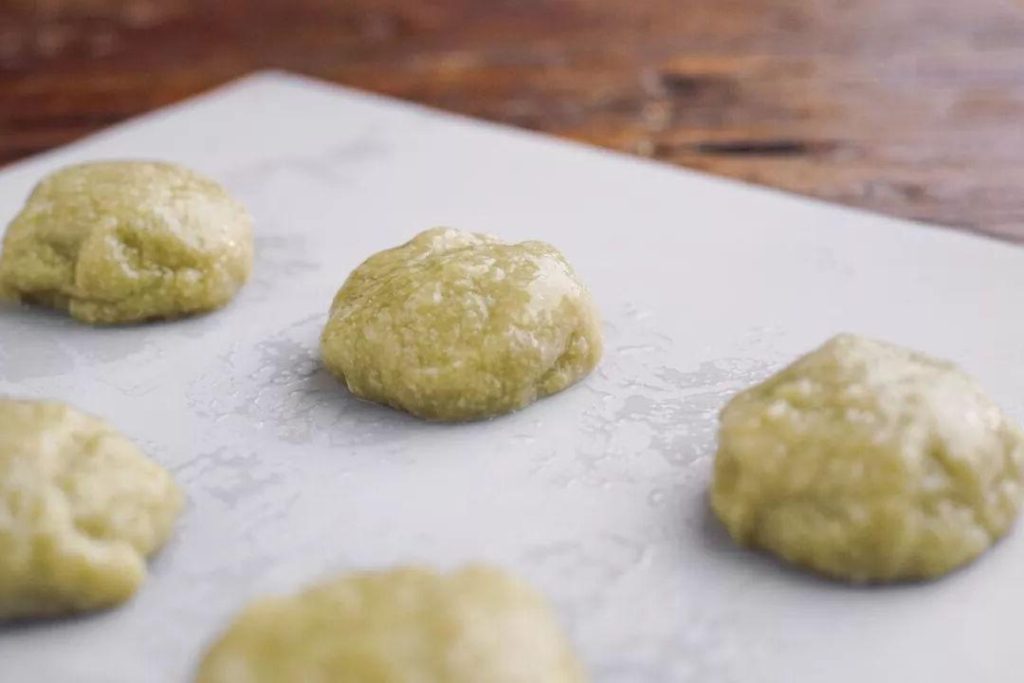
Step 4: Shape the Mochi
When the bread machine beeps, open the lid and let cool for about 5 minutes. Lightly wet your hands with cold water (to prevent sticking). Remove the green mochi dough. Place on a silicone mat or lightly oiled surface. Divide into 34g portions. Roll each into a ball, then flatten into a disc with your palm.
Step 5: Fill and Finish
Place a red bean filling ball in the center. Wrap the mochi around it, sealing tightly. Roll the finished mochi in matcha powder to coat.

Purple Sweet Potato Mochi
Ingredients:
- 125g glutinous rice
- Water
- Purple sweet potato powder (for coating)
- 1 small purple sweet potato (for filling)
- 1 tablespoon condensed milk
- 3 tablespoons heavy cream
- 15g unsalted butter
Step-by-Step:
Step 1: Cook the Mochi Base
Follow the same method as matcha mochi, but without adding matcha powder. The dough will remain white.
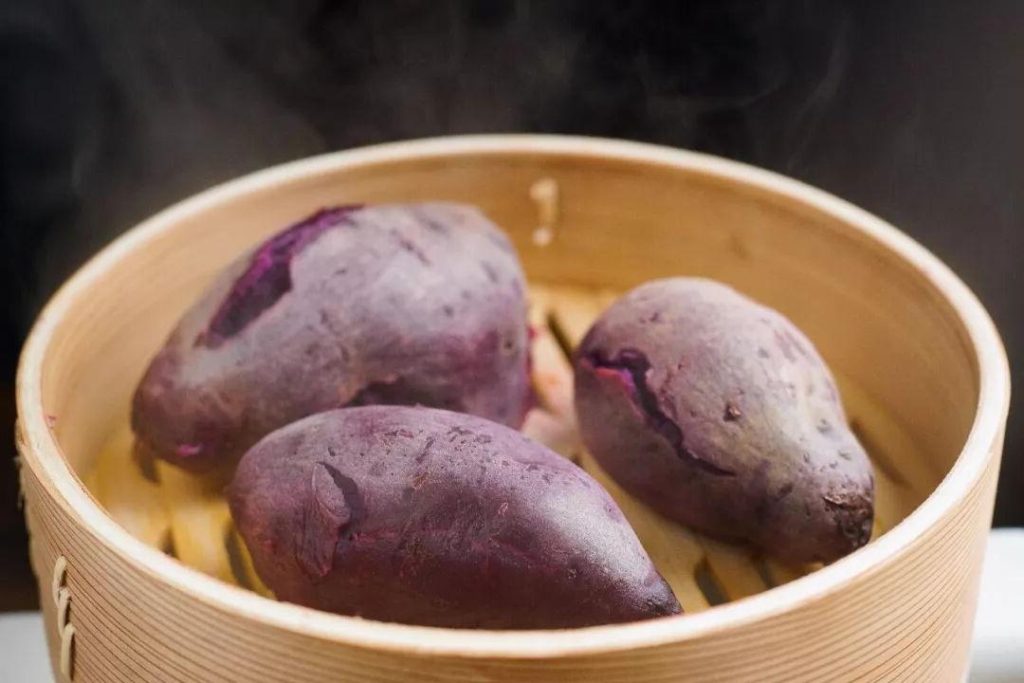
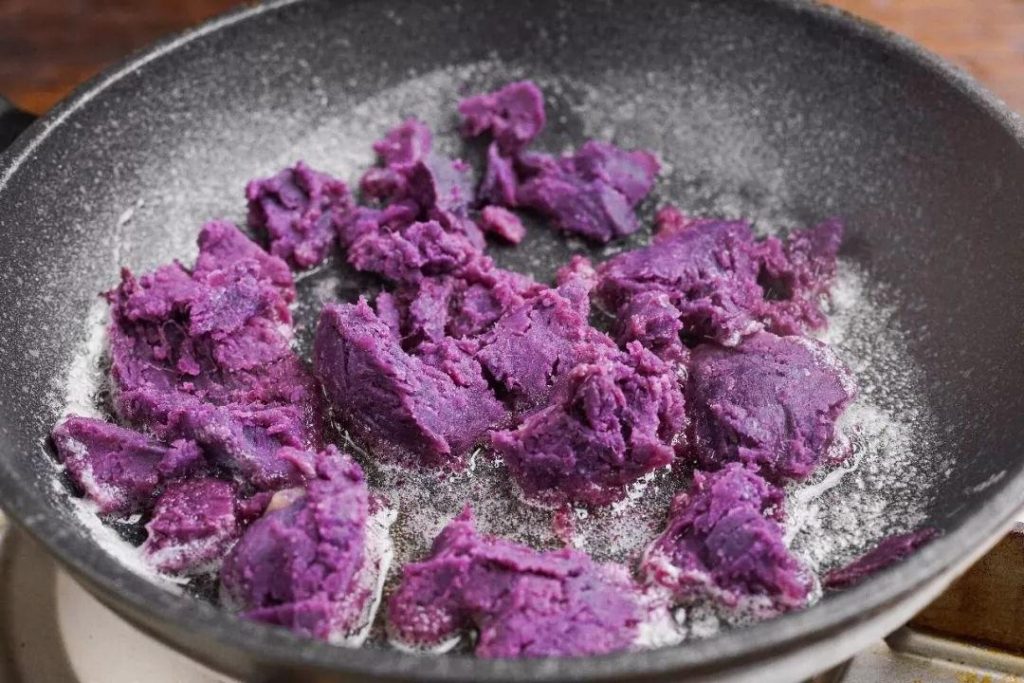
Step 2: Make the Purple Potato Filling
Steam the purple sweet potato for 20 minutes until tender. Peel and mash. In a small pan over low heat, melt 15g unsalted butter. Add the mashed purple potato, 1 tablespoon condensed milk, and 3 tablespoons heavy cream. Stir until smooth and well combined. Let cool, then roll into 17g balls.
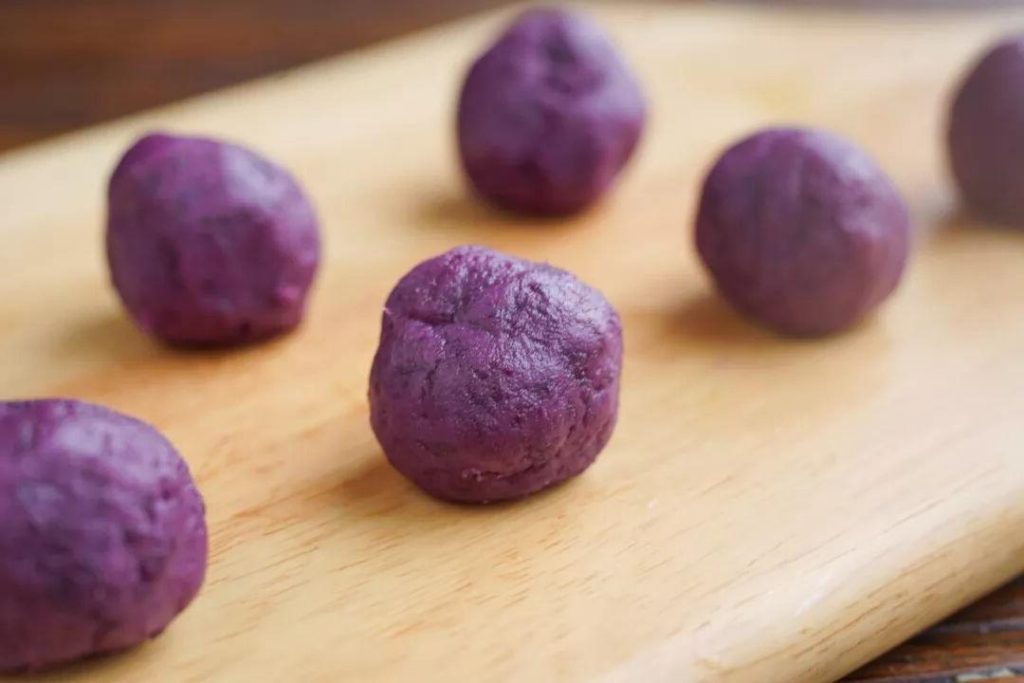
Step 3: Shape and Fill
Same as matcha mochi. Wet your hands. Divide the white mochi dough into 34g portions. Flatten, place a purple potato filling ball inside, and wrap tightly.
Step 4: Coat
Roll the finished mochi in purple sweet potato powder.
Black Sesame, Soybean, and Coconut Mochi
With the remaining plain mochi dough, I made three more variations:
- Black Sesame Mochi: Make a filling by mixing black sesame paste with a little sugar and butter. Roll into balls. After wrapping, coat the outside in roasted black sesame powder.
- Kinako (Roasted Soybean) Mochi: After wrapping with red bean filling, roll the mochi in kinako (roasted soybean flour).
- Coconut Mochi: After wrapping with red bean filling, roll the mochi in shredded coconut.
The method for all three is identical to the matcha and purple sweet potato versions—just change the coating and, for black sesame, the filling.

Why This Mochi Recipe Works
- No special equipment needed: A bread machine makes it easy, but you can also use a steamer
- Five colors, five flavors: Matcha green, purple sweet potato, black sesame, golden kinako, white coconut
- Stuffed: Hidden fillings make each bite a surprise
- Gift-worthy: Beautiful enough to package and give away
- Kid-approved: The little girl couldn’t bear to eat them—but she did, eventually, and loved every tiny bite
Pro Tips for Perfect Mochi
- Keep your hands wet: Mochi dough is extremely sticky. Wet hands are essential.
- Work quickly before it cools: Mochi hardens as it cools, making it harder to shape.
- Don’t overstuff: Too much filling makes sealing difficult.
- Coat generously: The outer powder not only adds flavor but also prevents sticking.
- Eat fresh: Homemade mochi is best within 24 hours.
More Than a Dessert
This isn’t just food. It’s a little bundle of joy. The kind of thing you make when you want to surprise someone. When you want to prove that cooking can be playful, beautiful, and deeply satisfying.
The little girl poked hers for ages before taking that first tiny bite. Her eyes turned into happy slits. And I understood: some foods are special not because of how they taste, but because of how they make you feel.
That’s the magic of making something with your own hands.
So whether it’s for a child, a friend, or just yourself—make these. Roll them. Coat them. Watch the light catch their soft, plump shapes.
And when someone takes that first bite, watch their eyes turn into happy little slits too.